GE Dishwasher Not Cleaning? Fix It Fast
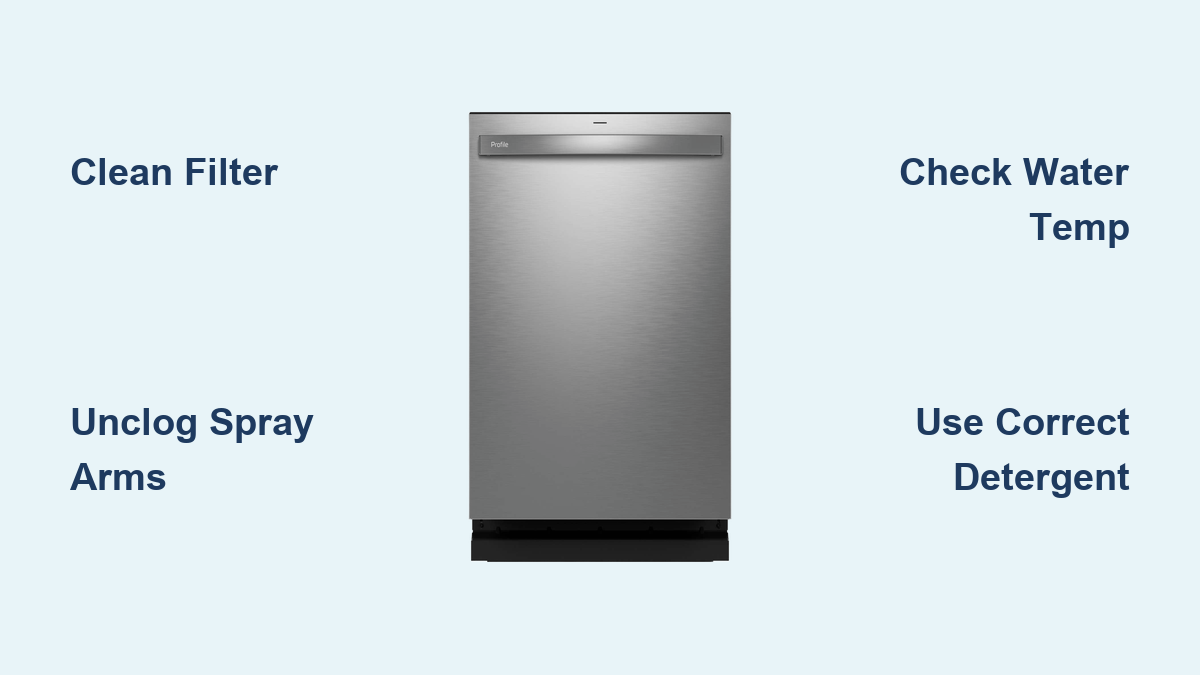
If your GE dishwasher not cleaning properly, you’re not alone. Thousands of users report greasy dishes, cloudy glassware, and food residue even after a full cycle. The good news? Most of these issues stem from clogged filters, low water temperature, detergent misuse, or blocked spray arms rather than broken parts. In fact, over 85% of cleaning problems can be resolved with simple maintenance and correct usage.
This guide cuts through the noise. You’ll learn exactly why your GE dishwasher isn’t cleaning, how to diagnose the real cause, and step-by-step fixes that work. Whether you own a GE Profile PDW8280N00SS or an older model, this actionable plan will restore full cleaning power in under an hour.
Clean the Bottom Drain Filter

A clogged filter is the number one cause of poor cleaning in GE dishwashers. When debris builds up, water cannot circulate properly, especially to the upper rack.
Remove and Disassemble the Filter
Pull out the bottom rack for full access. Lift and turn the upper filter cover counterclockwise to release. Use pliers to unscrew the flat plate beneath by turning it counterclockwise. Remove the central bolt and set the plate aside. Squeeze both sides of the main filter and lift straight out.
Pro Tip: Do not remove the top mesh piece. Only clean the lower section.
Flush All Debris From the Filter
Rinse the filter thoroughly under running hot water. Use a paperclip to clear clogged side holes. Check that water flows freely through every opening. Soak in vinegar if the filter is greasy or has mineral buildup.
Reinstall Correctly
Slide the filter back in until it clicks into place. Replace the flat plate and screw it down firmly. Snap the top cover back on without using tools.
Frequency: Clean the filter every one to three months, or weekly in hard water areas.
Unclog the Spray Arms
If water is not reaching the top rack, blocked spray arms are likely the culprit. Clean spray arms ensure even water distribution across all dishes.
Remove Upper and Lower Spray Arms
For the upper arm, remove the center support nut with pliers and lift off the arm to inspect the internal channel. For the lower arm, unscrew the central cap or retaining clip to free the arm.
Clear Every Nozzle
Hold each spray arm under running water and flush from both ends. Use a pipe cleaner or soft brush to unclog individual jets. Look for crumbly white and black crud, which is common in GE models without macerators.
Test Rotation and Reattach
Spin each arm by hand. It should rotate smoothly without resistance. Reinstall with correct alignment and tighten the upper arm quarter inch thread securely using pliers.
Warning: A loose arm will not spray effectively. Ensure it is locked in place before running a cycle.
Test Water Inlet Flow
Low water pressure means weak cleaning, especially on the upper rack. Testing the inlet flow helps identify if the issue is upstream from the dishwasher.
Check Fill Speed With Foil Test
Cut a sheet of aluminum foil and place it face down over the water inlet holes at the tub base. Manually close the door latch using a fork or screwdriver. Start a cycle and observe. Water should spray within 10 to 30 seconds. A delay exceeding 60 seconds indicates inlet blockage or low household pressure.
Confirm With Manual Water Test
Pour half a gallon or two liters of hot water into the tub base. Start a normal cycle. Run a test load. If the top rack cleans now, the issue is insufficient initial water fill. This proves the pump and motor work correctly.
Clean the Inlet Valve Screen

Sediment or mineral buildup in the water inlet valve restricts flow. Cleaning this screen annually prevents pressure problems.
Shut Off Power and Water
Turn off electricity at the breaker. Shut the water supply valve under the sink before proceeding.
Access the Inlet Valve
Remove the kick plate under the door. Locate the valve, which is usually on the bottom right. On some models, remove the front door panel to access the valve.
Remove and Clean the Screen
Disconnect the water line. Unscrew the valve from the tub. Open the inlet housing, which has four screws on GE Triton XL models. Pull out the internal screen filter and rinse it under hot water. Remove all grit before reinstalling.
Never remove the screen permanently. It prevents debris from flooding your kitchen.
Reinstall and Test
Reconnect everything securely. Restore power and water. Run a cycle to verify improved fill speed.
Verify Water Temperature
Detergent will not dissolve and grease will not break down if water is too cold. Temperature is critical for effective cleaning.
Measure Tap Temperature First
Run the kitchen faucet on hot for two minutes. Hold a thermometer in the stream. It should read at least 120 degrees Fahrenheit. GE recommends 130 to 135 degrees Fahrenheit for best results. Do not exceed 140 degrees Fahrenheit.
Boost Internal Temperature
Press the High Temp Wash or Extra Heat button. This raises internal water temperature to 140 to 150 degrees Fahrenheit, improving both cleaning and drying performance.
User Fix: One owner found their dishwasher water stayed below 120 degrees Fahrenheit despite a 145 degree Fahrenheit water heater, proving internal temperature lag is real.
Pre-Run Hot Water
Always run the kitchen tap before starting the dishwasher. This ensures hot water enters immediately rather than after a long wait.
Fix Detergent and Rinse Aid Use
Wrong detergent type or amount causes film, suds, and poor cleaning. Proper usage is essential.
Use Only 2 Tablespoons of Detergent
Filling the auto-dispense cup is too much, especially in soft water. Overuse causes oversudsing, which reduces spray pressure.
Never Mix Shine Shield and Rinse Aid
Cascade with Shine Shield already contains rinse aid. Do not add Jet-Dry to the dispenser if using Shine Shield. Doing both creates greasy film and residue.
Switch to Pods If Liquid Soap Fails
Auto-dispense systems often leak or under-dose. Cascade ActionPacs dissolve consistently and prevent residue buildup.
Success Story: One user fixed a five year cleaning issue by switching from liquid detergent to pods.
Stop Pre-Rinsing Dishes
Modern detergents need food enzymes to activate. Pre-rinsing removes the soil that makes these enzymes work.
Scrape, Don’t Rinse
Remove large chunks of food. Leave light soil on dishes because it helps the detergent work. Pre-rinsing combined with too much soap creates a sudsy disaster.
Expert Warning: Suds cushion spray arms, reducing rotation and cleaning power.
Adjust for Water Hardness
Your water type changes how much detergent you need. Matching detergent to water hardness prevents problems.
Soft Water? Use Less Soap
Municipal or softened well water is considered soft. It requires only two tablespoons of detergent. Using more causes oversudsing and film.
Hard Water? Use More
High mineral content means hard water. It may require a full dispenser dose. Consider a water softener or rinse aid booster for best results.
Prevent Future Clogs With Maintenance
GE dishwashers lack food grinders, so maintenance is non-negotiable. Regular care prevents most cleaning issues.
Follow This Maintenance Schedule
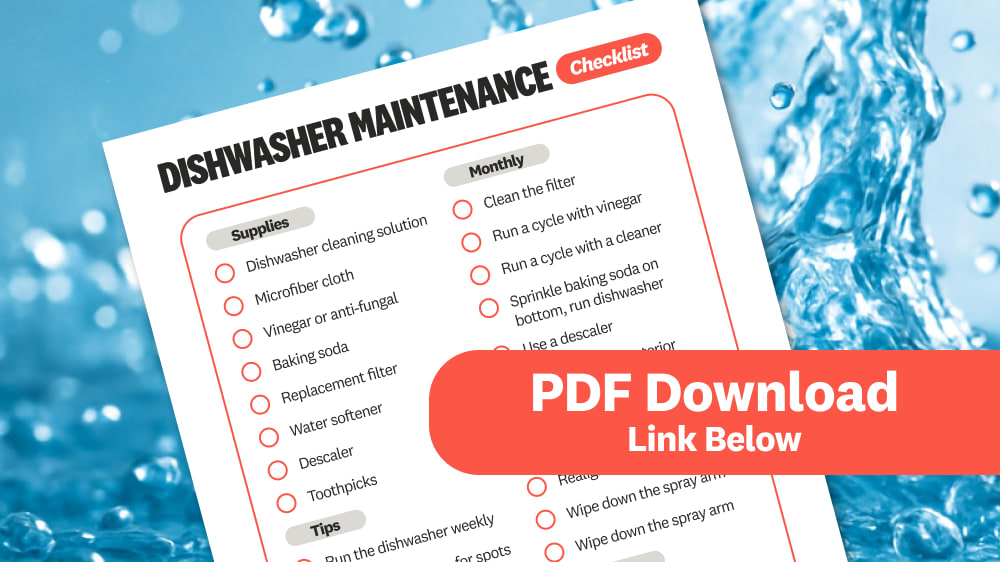
Clean the filter every one to three months. Flush spray arms every three to six months. Run a vinegar cycle every one to two months using one to two cups in the tub. Clean the inlet valve screen annually. Refill rinse aid as needed without overfilling. Inspect the door seal quarterly.
Fact: 90% of long-term users report perfect performance with regular filter cleaning.
When to Replace Your GE Dishwasher
Some models cannot be saved, especially if design limitations prevent cleaning.
Signs It Is Time to Upgrade
You clean spray arms before every load. Food bypasses the filter constantly. Multiple repairs have failed, including motor, pump, and sensor replacements. There is no improvement despite correct usage.
User Verdict: One user reported giving their dishwasher away for free because no one wanted to buy it for 75 dollars.
Better Alternatives
Whirlpool models with pot scrubber jets offer superior top rack cleaning. KitchenAid models with macerating disposers have fewer clogs and require less maintenance.
Final Checklist: Fix GE Dishwasher Not Cleaning
Clean the bottom filter assembly and remove all three parts. Flush upper and lower spray arms and clear every hole. Run the foil test to check inlet water speed. Add half a gallon of water to test fill volume. Verify tap water reaches at least 120 degrees Fahrenheit before starting a cycle. Use the High Temp Wash or Extra Heat setting. Switch to Cascade pods and avoid auto-dispense liquid soap. Never mix Shine Shield detergent with rinse aid in the dispenser. Scrape dishes instead of pre-rinsing. Run vinegar or Affresh cleaning cycles monthly.
Frequently Asked Questions About GE Dishwasher Not Cleaning
Why does my GE dishwasher leave food on dishes?
The most common cause is a clogged bottom drain filter. Food particles restrict water flow, preventing proper spray arm circulation. Clean the filter assembly and spray arms to resolve this issue.
What temperature should the water be for a GE dishwasher?
Water should be at least 120 degrees Fahrenheit at the tap. GE recommends 130 to 135 degrees Fahrenheit for optimal cleaning. Use the High Temp Wash setting to boost internal temperature.
How often should I clean my GE dishwasher filter?
Clean the filter every one to three months under normal use. Clean it weekly if you have hard water or run the dishwasher daily.
Can I use regular dish soap in my GE dishwasher?
No. Regular dish soap creates excessive suds and will not clean properly. Use only dishwasher detergent specifically formulated for automatic dishwashers.
Why is my top rack not cleaning in my GE dishwasher?
This usually indicates low water flow to the upper spray arm. Check the inlet valve screen for clogs. Verify water pressure is adequate. Ensure the spray arm is not blocked and rotates freely.
Should I pre-rinse dishes before putting them in the dishwasher?
No. Modern detergents need food soil to activate their enzymes. Scrape off large pieces but leave light soil on dishes for best cleaning results.
Key Takeaways for Fixing Your GE Dishwasher Not Cleaning
Your GE dishwasher not cleaning is almost always fixable. Start with the filter and spray arms, then verify water temperature and detergent use. Most fixes take less than an hour and cost nothing but your time.
The bottom drain filter is the number one culprit. Remove all three parts, rinse thoroughly, and clear every hole with a paperclip. Spray arms must rotate freely and have clear nozzles to distribute water properly.
Water temperature matters more than most users realize. Ensure your tap water reaches at least 120 degrees Fahrenheit before starting a cycle. Use the High Temp Wash setting to boost internal temperature if needed.
If cleaning and proper usage do not solve the problem after thorough maintenance, consider upgrading to a model with a macerator or better spray design. But for now, grab that paperclip, pull the filter, and get your dishes clean again.