How to Use a GE Dishwasher: Quick Guide
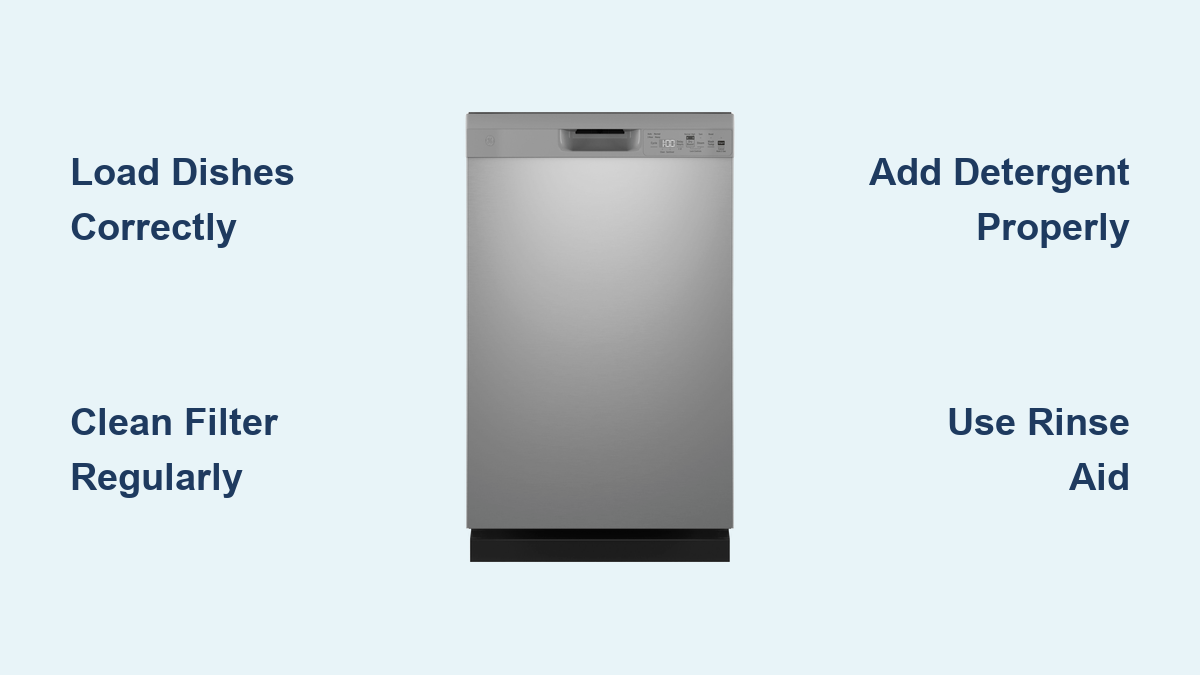
You’ve just loaded your GE dishwasher, added detergent, and pressed start, only to find greasy plates or wet dishes when the cycle ends. You’re not alone. Many users miss simple yet critical steps that make all the difference in cleaning performance and longevity. This guide walks you through how to use a GE dishwasher correctly, from loading racks to selecting cycles and maintaining peak efficiency. Whether you own a standard GE model or a premium GE Profile unit like the GDF535PSR3SS or PDWT380V00SS, this step-by-step reference ensures spotless results every time.
Load Dishes Correctly

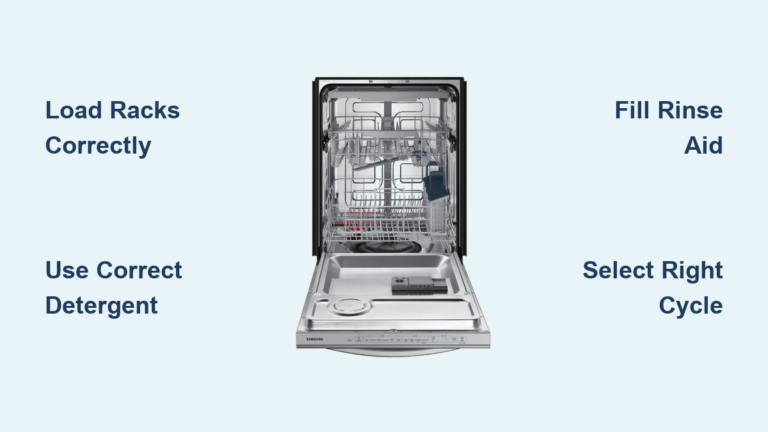
Proper loading is the foundation of effective cleaning. Misplaced items block water flow and leave dishes dirty. Always ensure no items obstruct the spray arms, and space dishes evenly to allow water and detergent to reach all surfaces.
Top Rack: Cups, Glasses, and Bowls
Place lightweight items here to avoid damage and ensure spray arm access. Load cups and glasses upright or slightly angled. Position bowls facing diagonally to prevent water pooling. Place spatulas and ladles in the top rack only if space allows. Check that no handles or stems hang down and block the upper spray arm.
Bottom Rack: Plates, Pots, and Pans
Heavier items go on the bottom for stability and better cleaning. Angle plates toward the center. Place pots and pans open-side down. Position platters vertically if possible. Avoid stacking pots or placing large dishes that shield smaller ones from spray jets.
Utensil Basket: Mix It Up
Prevent nesting and improve cleaning with smart utensil placement. Alternate forks and spoons with tines up and down. Place knives handle down for safety. Keep sporks and serving utensils separate from other items. Shake the basket gently after loading. No clinking means items are properly spaced.
Clean the Filter Regularly
A clogged filter causes poor cleaning, standing water, and odors. The filter traps food particles and must be cleaned at least once every 1-2 weeks, or more often if you run heavy loads daily.
Remove and Clean the Filter
Locate the filter at the bottom rear of the tub. Turn counterclockwise until the alignment arrows match. Pull straight out without tilting. Scrub debris with warm, soapy water and an old toothbrush. Rinse thoroughly under running water. Reinsert by turning clockwise until it clicks into place. Never operate the dishwasher without the filter in place.
Add Detergent Properly
Using the wrong type or placing detergent incorrectly leads to residue or poor cleaning. GE dishwashers accept pods, powder, and liquid detergents. Never use regular dish soap, as it creates suds and damages the system.
Use the Right Detergent Type
GE dishwashers accept multiple detergent formats. Use only dishwasher-specific detergents. Never use regular dish soap. Fresh pods or powder work best. Replace old or damp detergent that may have lost effectiveness.
Load the Detergent Compartment
Use the main wash cup for your primary dose. Drop one pod flat inside the cup. Pour powder or liquid to fill the line. Use the pre-wash cup only for heavily soiled loads or large quantities of dishes. Close the compartment securely by pressing the latch until it clicks. The machine opens it automatically during the cycle.
Fill the Rinse Aid
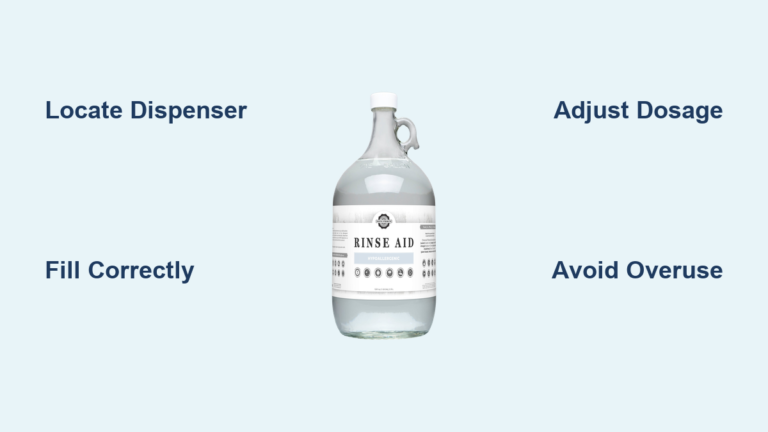
Rinse aid prevents water spots and improves drying, especially on glassware and plastic. The heating element at the bottom of the tub works in conjunction with rinse aid during the drying phase.
How to Fill and Adjust
Open the rinse aid cap on the inside of the door. Pour until the indicator shows full. Adjust the dial based on your water and results. Use Min for soft water or light spotting. Use Med for normal conditions. Use Max for hard water or frequent drying issues. Refill monthly or when the indicator drops below half.
Select the Right Wash Cycle
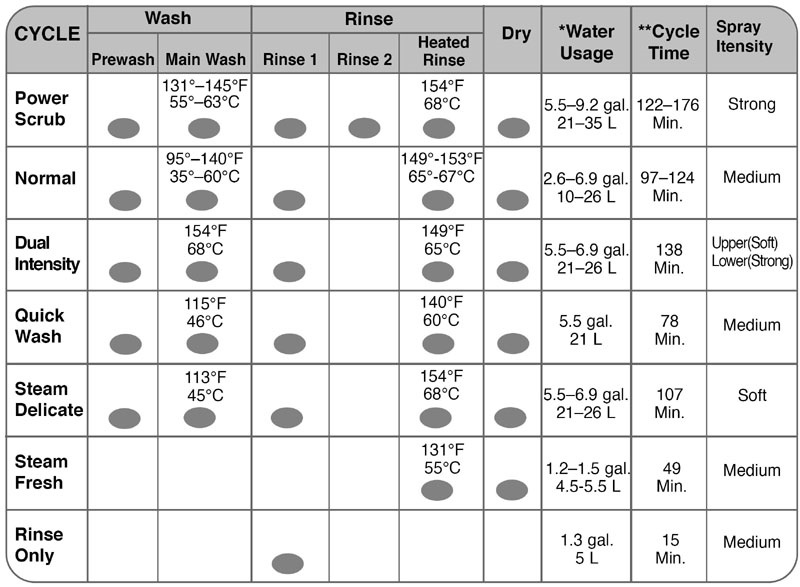
Choosing the correct cycle ensures clean dishes without wasting time or energy. Select Normal first, then add boost features as needed for heavily soiled loads.
Choose Based on Soil Level
Heavy cycle works best for baked-on food, pots, and pans, lasting 2-3 hours. Normal cycle handles everyday dishes in approximately 2 hours and serves as the default on many models. Light or Light Wash is ideal for slightly used items, taking 1-1.5 hours. The 1-Hour cycle provides a quick clean with full dry in approximately 60 minutes. Rinse cycle clears loose debris when delaying a full wash, lasting 10-15 minutes.
Special Cycles Available
Pots and Pans offers extended soak and high-pressure spray for heavy-duty cleaning. Santa Wash is a branded heavy-duty cycle available on select models. Steam loosens food before washing and is often paired with Heavy cycle. Some models list 1-Hour twice, which may indicate different temperature or drying settings.
Enable Boost Features for Better Results
Enhance cleaning and drying with optional settings available on your model. These features improve performance for tough jobs while consuming slightly more energy.
Heat Boost and Steam
Heat Boost raises water temperature for tougher grime. Pair it with Heavy or Pots and Pans cycles for best results. Steam injects steam early in the cycle to soften stuck-on food. This feature is available on select GE and GE Profile models. Usually requires Normal cycle selected first before enabling steam.
Dry Boost and Heated Dry
Dry Boost activates the bottom heating element to evaporate moisture. Settings vary by model, including Normal, High, and Off. Press three times to disable on many models. Use High Dry Boost for plastic items that typically retain water. Disable Heated Dry to save energy if air-drying is acceptable.
Plate Warmer
Plate warmer keeps dishes warm after the cycle ends. This feature is useful when loading immediately after washing. Not available on all models, so check your owner’s manual.
Start the Dishwasher Correctly
One missed step can prevent the cycle from starting. Follow this sequence carefully for reliable operation every time.
Step-by-Step Start Process
Load racks without blocking spray arms. Add detergent and close the compartment with a click. Check rinse aid level. Close the door firmly until it latches. Press Cycle to select the desired program. Add features like Heat Boost, Steam, or Dry Boost as needed. Choose your start type. Normal Start begins immediately. Hot Start preheats water for better cleaning and adds 2-5 minutes. Press Start to begin the cycle. If the Clean light blinks, the door may not be sealed properly.
Use Control Lock to Prevent Accidents
Avoid accidental changes during operation by using the control lock feature. This is especially useful when children are nearby or during long cycles.
Activate or Deactivate
Press and hold the Lock button for 3 seconds. The indicator light turns on when locked and off when unlocked. All other buttons are disabled when locked. Hold the Lock button for 3 seconds again to deactivate.
Cancel a Cycle Mid-Run
Need to add a forgotten dish or stop the cycle for another reason? Cancel safely without damaging the appliance.
How to Stop the Cycle
Hold the Cancel button for 3 seconds. The machine drains and shuts down completely. The door unlocks after drainage completes, which takes approximately 1-2 minutes. Never force the door open during a cycle. Turn off power at the circuit breaker if controls are unresponsive in emergencies.
Unload in the Right Order
Maximize cleanliness and minimize mess by unloading in the proper sequence. This prevents water from dripping onto clean dishes.
Unload Bottom Rack First
Remove items from the bottom rack first to prevent water from dripping off upper items onto clean dishes below. This also removes heavier dishes that could cause splashing if bumped. Check for moisture in plastic containers, which often retain water. Silverware should be dry and spot-free. Glassware should have no film or streaks.
Troubleshoot Common Problems
Fix issues fast with these quick diagnostics. Most problems have simple solutions you can check before calling a technician.
No Power Issues
Check if the circuit breaker has tripped and reset it if needed. Test and reset the GFCI outlet if applicable. Confirm the power cord is securely connected. Remove the kick panel and inspect the junction box behind it for melted wires indicating an internal wiring fault.
Poor Cleaning Solutions
Clean a clogged filter immediately. Remove and rinse blocked spray arms. Use fresh pods or powder detergent. Enable Hot Start and Heat Boost for cold water supply issues.
Water in Tub After Cycle
Clean the filter to ensure proper drainage. Check the drain hose for kinks or blockages. Run the garbage disposal before starting the next load. Run a rinse cycle if delaying a full wash to prevent debris buildup.
Optimize Performance Long-Term
Keep your GE dishwasher running like new with regular maintenance. Proper care extends the life of your appliance and maintains cleaning performance.
Best Practices Summary
Use Hot Start on every cycle for better cleaning. Enable Heat Boost for greasy loads. Skip pre-rinsing, just scrape large chunks. Run full loads for efficiency. Avoid overloading to allow water to circulate properly.
Maintenance Schedule
Clean the filter every 1-2 weeks. Refill rinse aid monthly. Inspect spray arms monthly. Run a cleaning cycle every 1-3 months using dishwasher cleaner or vinegar. Check hoses and seals annually. Run an empty cycle with 1 cup white vinegar in a bowl on the top rack once a month for deep cleaning.
Model-Specific Tips
Fine-tune settings based on your specific GE dishwasher model. Features and controls vary between different series.
GE GDF535PSR3SS
The default cycle is 1-Hour. Special features include Steam, Heat Boost, and Santa Wash. Dry Boost is controlled by pressing three times to cycle through settings. The detergent cup must be manually closed and clicked shut. This model requires firm door closure to start.
GE Profile PDWT380V00SS
This model features touchpad controls with no physical dials. There is no reset button, so troubleshoot via the junction box behind the kick panel. Check wiring behind the kick panel before replacing the control board for power issues. This model also requires firm door closure to start.
Key Takeaways for Using Your GE Dishwasher
Your GE dishwasher can last 9-12 years with proper care and maintenance. Master these essential steps to ensure reliable performance and spotless results every time you run a load.
Before each use, check the filter, rinse aid level, and door seal for proper closure. Monthly, run a maintenance cycle with vinegar or dishwasher cleaner. Annually, inspect inlet and drain hoses for wear or blockages. When in doubt, consult your owner’s manual for error codes or model-specific quirks.
By mastering how to use a GE dishwasher the right way, you’ll save time, reduce rewashes, and extend the life of your appliance. Clean dishes, less effort, and smarter operation start today.
Frequently Asked Questions About GE Dishwashers
How do I reset a GE dishwasher?
Most GE dishwashers do not have a dedicated reset button. Turn off power at the circuit breaker for 30 seconds, then turn it back on. If controls remain unresponsive, check the junction box behind the kick panel for wiring issues.
Why are my GE dishwasher dishes still wet after the cycle?
Low rinse aid is the most common cause. Refill the rinse aid compartment and adjust the dial to a higher setting. Ensure Heated Dry or Dry Boost is enabled. Consider using High Dry Boost for plastic containers.
How often should I clean the GE dishwasher filter?
Clean the filter every 1-2 weeks. Clean more frequently if you run heavy loads daily or notice poor cleaning performance, standing water, or odors.
Can I use regular dish soap in my GE dishwasher?
Never use regular dish soap in a dishwasher. It creates excessive suds that can damage the pump and internal components. Use only dishwasher-specific detergents like pods, powder, or liquid.
What does the Clean light mean on my GE dishwasher?
The white Clean light illuminates when the cycle completes successfully. It indicates the dishwasher is safe to open and dishes are dry if Heated Dry was enabled.
Why won’t my GE dishwasher start?
Check that the door is fully closed and latched. Verify the circuit breaker is not tripped. Test the GFCI outlet. Ensure the control lock is not activated. If none of these work, inspect the junction box for wiring faults.