How to Fix Maytag Dishwasher Buttons Not Working
You press the Start button on your Maytag dishwasher, but nothing happens. The Cancel button responds the same way while all other controls like cycle selection and heated dry work perfectly. This is a common issue affecting Maytag Quiet Series 300 and MDB8959SFZA models where only the Start and Cancel buttons fail due to a specific mechanical flaw in the control panel.
The good news is this isn’t a full control board failure, and you likely won’t need to replace the entire panel. In most cases, the root cause is worn micro switches hidden beneath the control board that degrade from frequent use. The fix is a simple cardboard shim that restores pressure and makes the buttons work again, at no cost.
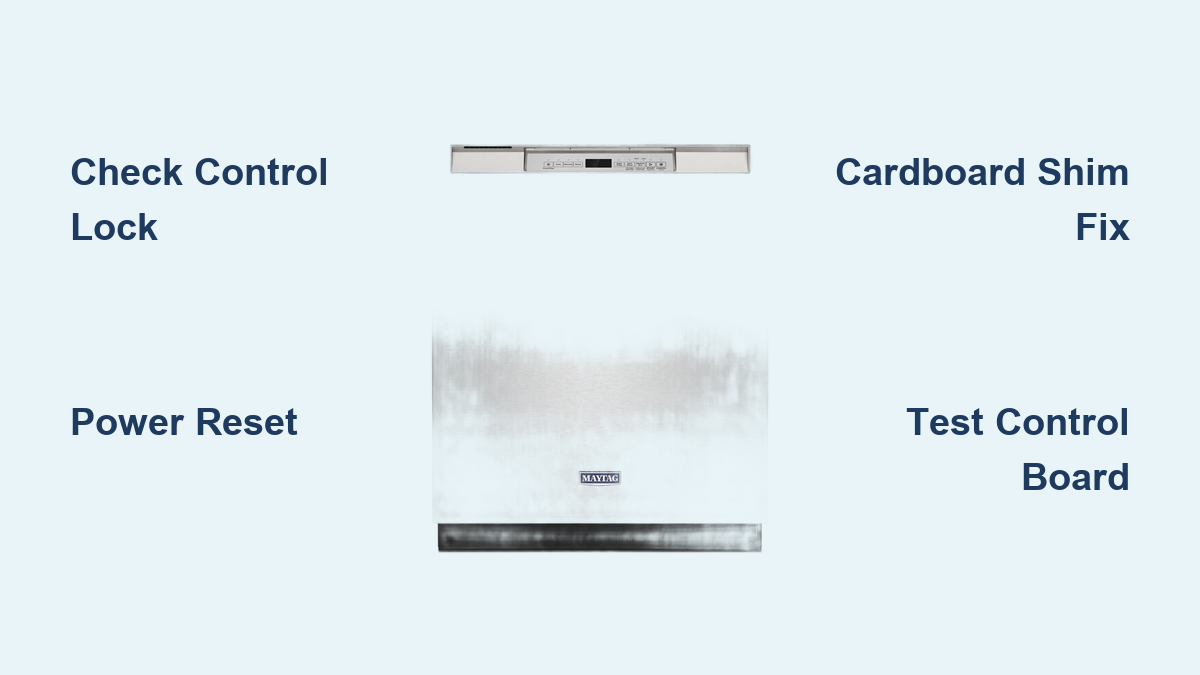
Check Control Lock and Reset Power
Before opening the panel, eliminate common software glitches that could be preventing button response.
Unlock the Control Lock
If only Start and Cancel don’t respond, the Control Lock might be enabled, which disables these buttons to prevent accidental use.
Fix:
Press and hold the Control Lock button for 3 seconds. Listen for a beep or watch for a lock icon to disappear. Test the Start and Cancel buttons.
If they work now, the issue was just a locked panel.
Perform a Full Power Reset
Electronics can freeze, especially after power surges or outages.
Steps:
1. Turn off the dishwasher at the circuit breaker.
2. Wait 5–10 minutes to clear any stuck signals.
3. Restore power at the breaker.
4. Open the door and close it firmly.
5. Try starting a cycle.
If buttons still don’t respond after these steps, internal inspection is required.
Access the Control Panel Safely

Identify Your Model First
Affected models include MDB8959SFZA, Maytag Quiet Series 300, and shared designs with Whirlpool and KitchenAid. Finding your exact model number is essential for ordering correct replacement parts.
Find the model tag: It is not the Energy Star label. Look along the top or side of the inner door frame, or on the side of the tub. Take a photo of the model and serial number for future parts ordering.
Remove the Inner Door Panel
Tools Needed:
T10, T15, and T20 Torx screwdrivers
Soft blanket or towel
Steps:
1. Turn off power at the breaker.
2. Open the door and remove all visible screws from the inner door panel. These are usually a mix of T15 and T10 screws, with two longer screws near the door latch mechanism.
3. Place a blanket on the floor to protect the panel.
4. Gently tilt the panel downward and wiggle to release plastic clips.
5. Carefully pull the panel free and lay it face-up on the blanket.
Never work on live electrical components. Always verify power is off at the breaker before proceeding.
Diagnose the Micro Switch Failure
Locate and Remove the Control Board
Behind the removed panel, you’ll see the control board mounted in a plastic housing. Follow these steps to access the micro switches:
- Remove the single T20 screw securing the board.
- Press the tab on the wire harness connector and disconnect it.
- Unscrew the T10 screws holding the button overlay (the visible front panel).
- Gently lift the overlay to expose the micro switches underneath.
Inspect the Start and Cancel Switches
Each button presses a small plastic micro switch. Focus on the Start and Cancel switches.
Look for these signs of failure:
Worn-down plastic tabs that no longer make proper contact
Cracks or breaks in the plastic housing
Loose or wobbly switch movement when pressed
Why only these two buttons? They are used daily, far more than cycle selection buttons, leading to accelerated wear on their micro switches. If the tabs are damaged, the switch cannot be fully depressed when you press the button, which means no signal is sent to start the dishwasher.
Fix It with Cardboard Spacers
Gather Materials
You only need thin cardboard from a cereal box or similar packaging and scissors. No soldering, no replacement parts, no cost.
Apply the Shim Fix
Steps:
1. Cut two small pieces of cardboard.
2. Fold one piece in half for stiffness—this becomes your main shim.
3. Place it behind the control board, directly under the Start and Cancel micro switches.
4. Add a second thin shim at the opposite end to balance the board and prevent tilt.
5. Reattach the button overlay.
6. Reconnect the wire harness.
7. Secure the board with the T20 screw.
8. Reinstall the inner door panel with all screws.
How It Works
The cardboard adds upward pressure on the control board, which lifts the micro switches slightly. This compensates for lost height from worn plastic tabs. When you press the button, the switch now makes full contact and sends the signal properly.
The result is instant button responsiveness. Users report being amazed that buttons became responsive again after this simple fix.
Time: approximately 30 minutes
Cost: $0
Skill Level: Beginner-friendly
Test Control Board vs. Panel Separately

If the entire panel is dead or lights blink erratically, the problem might be the control board rather than the buttons. Use this test to avoid buying a $150 panel unnecessarily.
Step-by-Step Isolation Test
Tools Needed:
Needle-nose pliers
Screwdriver
Steps:
1. Disconnect power at the breaker.
2. Remove the three retaining clips on the control board: bottom left, bottom right, and top middle.
3. Gently pull the board forward to access the ribbon cable on the right side.
4. Disconnect the flat ribbon cable by pulling gently (no tools needed).
5. Use pliers to remove the door strike (plastic actuator that triggers the door switch).
6. Restore power.
7. Wait 10 seconds.
8. Manually insert the door strike into the switch.
Interpret the Results
If the drain pump runs, the control board is good and the control panel is faulty, requiring replacement.
If there is no response, the control board is defective and needs replacement.
This test bypasses the panel entirely. If the board activates without it, the panel is the problem.
Replacement Options and Costs
Control Panel Replacement
Original beige (biscuit) panels are often discontinued. Current replacements are typically black panels with the same function but different color.
Price: $80–$150
Part Number: Varies by model—verify using your full model and serial number
Only replace if the cardboard fix doesn’t work, multiple buttons or entire display fail, or the diagnostic test confirms panel failure.
Control Board Replacement
Cost: $120–$200
Replace only if the isolation test shows no response. Never replace the board first—always test to confirm the failure.
Prevent Recurrence and Extend Lifespan
Monitor for Intermittent Failure
Many users report that buttons work after repeated pressing or after a power cycle, then fail again days or weeks later. This intermittent behavior means the micro switch is making partial contact, a sign of advanced wear.
The cardboard fix extends functionality, but it isn’t permanent. Eventually, a panel replacement may be needed.
Reduce Button Wear
Avoid slamming or over-pressing buttons. Use Delay Start to minimize daily Start button use. Train household members to press buttons gently rather than forcefully.
Design Flaw: Why This Keeps Happening
This isn’t random failure—it is a design weakness in these specific models. High-use buttons like Start and Cancel use low-durability plastic switches with no redundancy or wear compensation. Replacement panels no longer match the original color because manufacturers have discontinued older colors.
Maytag uses shared designs across Whirlpool and KitchenAid, so this issue appears in multiple brands. Frequent-use components should be built to last, but this recurring problem suggests a cost-cutting decision that impacts long-term reliability.
Warranty and Renter Guidance
Warranty Coverage
Standard Maytag dishwashers include a 1-year limited warranty covering parts and labor. Extended warranties may cover control panel or board failures. Keep repair photos and notes for any warranty claims.
If You Are a Renter
Report the issue to your landlord immediately. Provide the model number and symptoms. Suggest the cardboard fix as a low-cost solution. Document all communication.
This repair is non-destructive and reversible, making it ideal for rental properties. Landlords appreciate solutions that don’t require expensive part purchases.
Summary: Fast Action Plan
Step 1: Check Control Lock (1 minute)
Step 2: Power reset at breaker (10 minutes)
Step 3: Inspect micro switches (20 minutes)
Step 4: Apply cardboard shim (10 minutes)
Step 5: Test with ribbon cable if needed (15 minutes)
Step 6: Replace panel or board only if necessary (30 minutes)
Final Tips
Try the cardboard fix first—it is free and effective. Never replace parts without testing first to save $100 or more. Label your model number inside the door for future reference. Document the repair with photos, which is helpful for resale or warranty purposes.
This issue is mechanical wear, not magic. The Start and Cancel buttons fail because they are used daily. Address the root cause—lost switch height from worn plastic tabs—and you will fix it fast.
Frequently Asked Questions About Maytag Dishwasher Buttons Not Working
Why do only the Start and Cancel buttons stop working?
The Start and Cancel buttons are used far more frequently than any other buttons on the dishwasher. This daily use causes the underlying micro switches to wear out faster, resulting in unresponsive buttons while other controls continue working normally.
Is this problem covered under warranty?
Most Maytag dishwashers come with a 1-year limited warranty that covers parts and labor. If your dishwasher is still within the warranty period, contact Maytag or your retailer to inquire about coverage for control panel or button issues.
How long does the cardboard fix last?
The cardboard shim fix typically extends functionality by months to years, depending on how frequently you use the dishwasher. Eventually, the micro switches may wear out completely, requiring panel replacement.
Can I use this fix on other dishwasher brands?
Yes, this same design flaw affects Whirlpool and KitchenAid dishwashers that share similar control panel designs. The cardboard shim method works the same way on these models.
What if the cardboard fix does not work?
If the cardboard shim does not resolve the issue, perform the ribbon cable isolation test to determine whether the control board or the control panel is faulty. Replace only the confirmed defective component.
Where can I find the model number for my Maytag dishwasher?
The model number is not on the Energy Star sticker. Look along the top or side of the inner door frame, or on the side of the tub. If you cannot locate it, check your purchase documentation or contact Maytag customer support.
Key Takeaways for Fixing Your Maytag Dishwasher Buttons
The Start and Cancel button failure on Maytag Quiet Series 300 and MDB8959SFZA models is caused by worn micro switch tabs, not a complete control board failure. Always check Control Lock and perform a power reset before disassembling the panel. The cardboard shim fix restores button function at zero cost by adding pressure to compensate for worn plastic tabs. Use the ribbon cable isolation test to confirm whether you need a panel replacement ($80–$150) or control board replacement ($120–$200) before purchasing any parts. Try the cardboard fix today—your clean dishes depend on it.