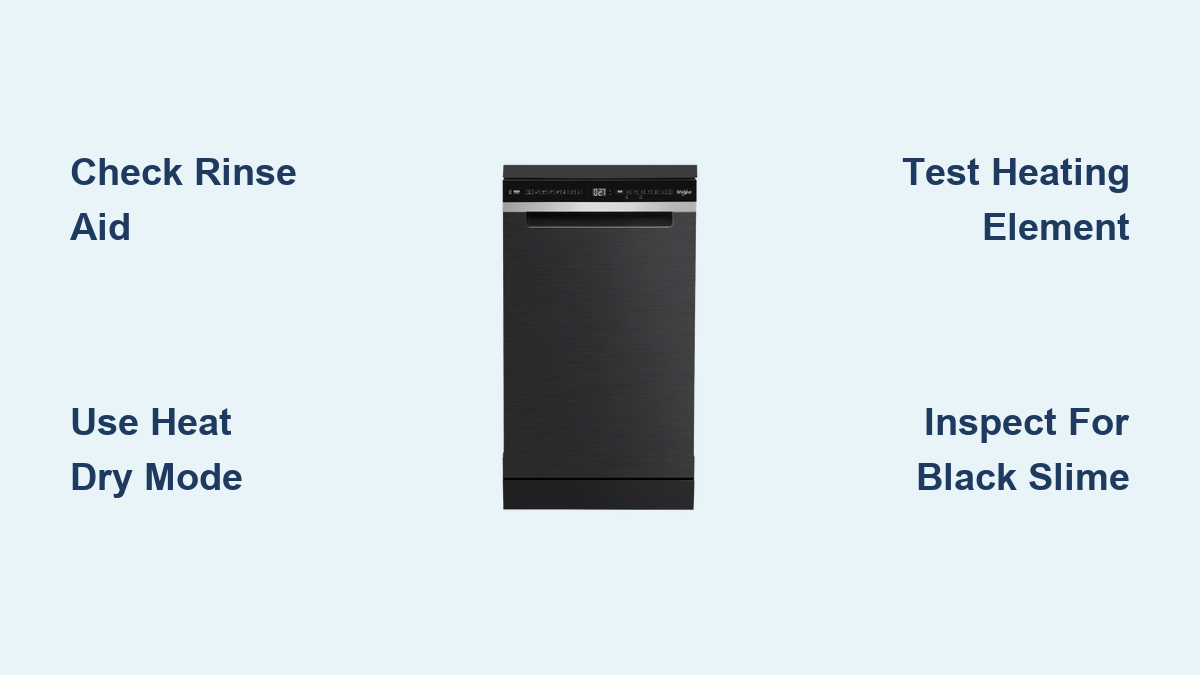
Whirlpool Dishwasher Not Drying? Fix It Fast
You run a full cycle, open your Whirlpool dishwasher, and find soggy dishes—especially plastics—still dripping wet. You are not alone. Poor drying is one of the most common complaints among Whirlpool dishwasher owners. The good news? Most causes are fixable without a technician. Whether your dishes are damp due to user settings, rinse aid issues, or a failing heating element, this guide walks you through every possible cause, how to test it, and what to do next based on real user reports, technical specs, and diagnostic protocols.
Lets diagnose why your Whirlpool dishwasher is not drying and restore peak performance fast.
Rinse Aid: The Number One Drying Factor
Rinse aid is not optional. It is essential. Whirlpool designs its dishwashers to rely on rinse aid for effective drying. Without it, water beads up on dishes instead of sheeting off, leaving spots and moisture behind.
Check Rinse Aid Level and Dispenser
Open the dishwasher door fully. Look at the rinse aid dispenser, usually near the detergent cup. If the indicator window is clear, it is empty. Refill with 5 oz of rinse aid. Most users refill every 1 to 3 months.
Pro tip: Overfilling causes leaks. Fill only to the max line.
Adjust Rinse Aid Setting for Better Results
Your dispenser has an adjustable dial shaped like an arrow. Turn it with your finger or a flat screwdriver.
• Higher number means more rinse aid dispensed
• Start at factory default, usually 3 or 4
• Increase one notch if you have hard water, dishes show spots, or drying performance drops
Run 2 to 3 cycles after each adjustment. Too much rinse aid wastes product and can leave residue.
Why Plastics Still Stay Wet
Plastic items like Tupperware, cups, and baby bottles dry poorly even with rinse aid. Why? They do not retain heat like glass or ceramic. Cool surfaces prevent evaporation, and shapes trap water.
Fix: Place plastics on the top rack or third rack if available. Avoid the lower rack where heat rises but airflow is blocked.
Drying Options: Are You Using the Right One?
Many users unknowingly disable heated drying. If your dishes are wet, check which drying mode is selected on your Whirlpool dishwasher not drying properly.
Air Dry vs. Heat Dry vs. Extended Dry
• Air Dry uses no heat. Dishes dry slowly via ventilation. Leaves moisture especially on plastics.
• Heat Dry or Pro Dry uses the heating element during the drying phase. Warms air and dishes for faster evaporation.
• Extended Dry adds about 15 minutes to drying time. Best for large or greasy loads.
Check your control panel. If the Air Dry button is lit, only air drying is active. To enable heating, ensure Air Dry is off and Heat Dry or Pro Dry is selected.
User mistake alert: One customer ran Air Dry for months, wondering why dishes stayed wet. Switching to Heat Dry solved it instantly.
Use Door Open Dry for Maximum Results
Available on newer models, Door Open Dry or Natural Dry automatically cracks the door at cycle end. It vents steam and lets in dry room air, boosting drying without extra energy.
Press the Door Open Dry button. The LED will illuminate. Works with all cycles. If your model has it, use it.
Test the Heating Element: Is It Working?
The heating element at the tubs bottom is critical for drying. If it fails, Heat Dry will not work no matter your settings. This is a common reason Whirlpool dishwasher not drying issues occur.
Sanitize Cycle: Built In Diagnostic Tool
If your model has a Sanitize option, use it to test the heating system.
- Run a full cycle with Sanitize selected.
- At cycle end, check the Sanitize LED.
• Steady LED means the heating element is working.
• Blinking LED means a heating issue, likely a failed element or sensor. Service is needed.
This test confirms whether the dishwasher reached 150 degrees Fahrenheit, the temperature required for proper sanitizing and drying.
Heat Dry Test: Feel the Dishes
No Sanitize option? Use Heat Dry.
- Run a 1 hour cycle with Heat Dry enabled.
- After the cycle ends, touch a glass or ceramic dish.
• Warm or hot means the heating element is functioning.
• Cold or room temperature means the element is not heating. Likely failure.
Note: Plastics will not feel warm. Test with ceramic or glass.
Multimeter Test: Confirm Heating Element Failure

For advanced users, test the element directly.
Steps:
- Unplug the dishwasher or turn off power at the breaker.
- Remove the lower rack. Locate the heating element at the bottom of the tub.
- Access the terminals. May require panel removal.
- Set the multimeter to ohms.
- Touch probes to the element terminals.
Expected reading is 10 to 30 ohms depending on your model. Failure signs include OL (over limit) or no reading, which means an open circuit and a dead element. Infinite resistance means no continuity. Replace the element.
One user reported an OL reading, confirming failure after 13 years of use.
Inspect for Black Slime: A Sign of Element Failure
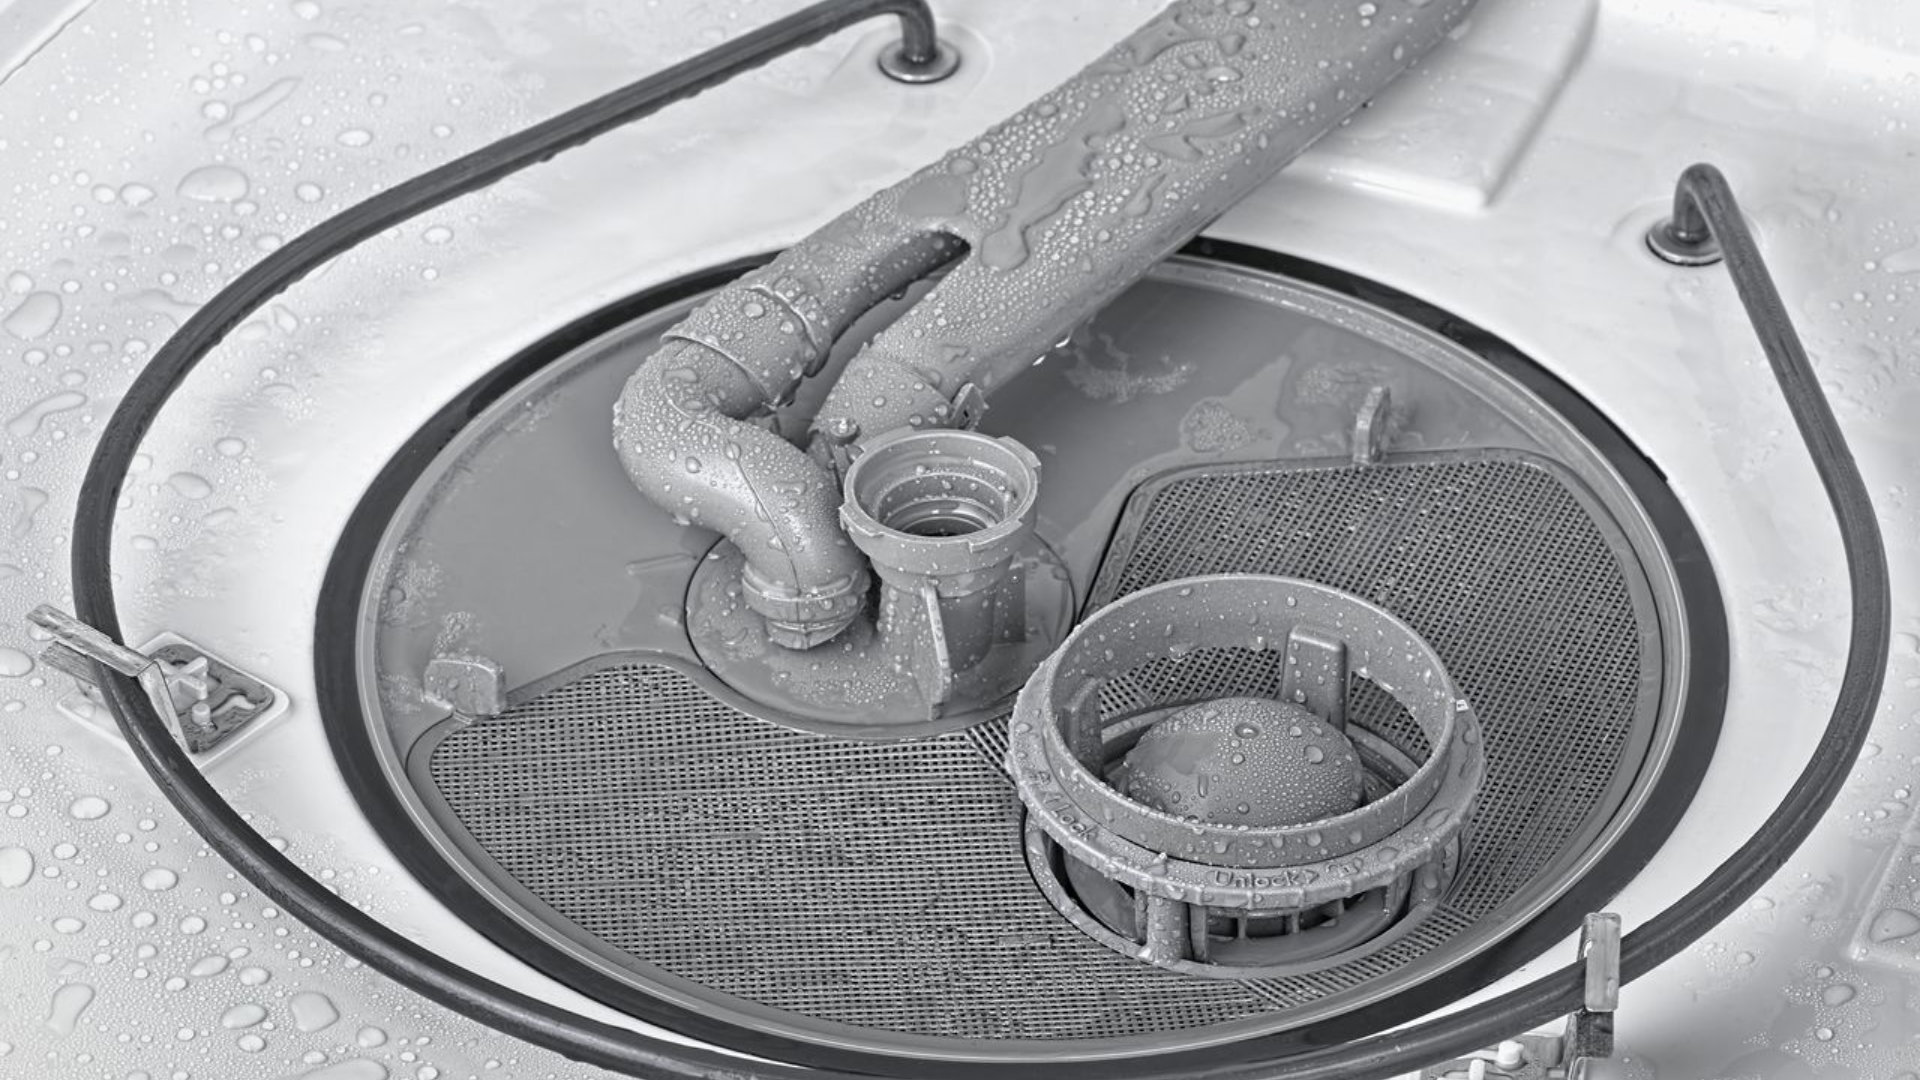
Found dark, slimy residue inside the tub? It is likely not mold. It is degraded heating element coating.
What Causes Black Residue
The heating element has a protective coating. Over time, especially in older models, the coating pits and flakes off. The flakes mix with water, circulate, and stick to tub walls.
Visual clues include black specks or oily film on walls or filter, element coils that appear corroded or pitted, and residue that returns after cleaning.
This is a failure symptom, not just dirt. Replace the heating element.
Water Temperature: Is It Hot Enough?
Even with perfect settings, cold water kills drying performance. Whirlpool requires at least 120 degrees Fahrenheit hot water at the inlet.
Why? It ensures effective cleaning, provides thermal mass for the drying phase, and helps the heating element work efficiently.
Test it:
- Run hot water at the sink for 1 to 2 minutes.
- Measure with a thermometer.
- If below 120 degrees Fahrenheit, adjust the water heater.
Pro tip: Run hot water at the sink before starting the dishwasher to purge cold lines.
Loading Mistakes That Trap Water
Even with perfect settings, poor loading sabotages drying. Many Whirlpool dishwasher not drying problems stem from how dishes are arranged.
Load for Drainage, Not Capacity
• Angle plates and bowls. Never place them flat.
• Space items so water runs off freely.
• Do not block spray arms, top or bottom.
• Place cups and bowls facing down.
Upper Rack Glassware: Position Matters
Place glasses between wire tines, not over them. Over tined glasses trap droplets. Between tined glasses allow water to drain. This reduces spotting and pooling.
Model Specific Failures: What to Watch For

Some Whirlpool models have known drying issues, especially older units.
Heating Element Degradation After 10 Plus Years
Model WDF51PAYB6, 13 years old, reported gradual drying decline and cold dishes after Heat Dry. Multimeter showed OL, an open circuit.
Common in aging units: The coating fails and the element burns out.
Integrated Replacement: Element Plus Control Board
On certain Whirlpool and KitchenAid models, the heating element and control board must be replaced together. Newer elements run hotter and require updated board logic. Installing a new element alone may cause error codes or damage.
Check parts diagrams or consult a technician before DIY.
Extended Warranty Programs Exist
Some models had class action settlements or extended warranties for heating element failures, even beyond 10 years.
Action: Contact Whirlpool with your model and serial number. You might qualify for free parts.
Step by Step Troubleshooting Checklist
Use this flow to diagnose fast.
- Is rinse aid filled? Refill if empty.
- Is rinse aid dispensing? Adjust setting if needed.
- Is Heat Dry selected, not Air Dry? The button should be lit for Heat Dry, off for Air Dry.
- Is Door Open Dry enabled? Use if available.
- Is water hot enough? Verify 120 degrees Fahrenheit at the inlet.
- Are dishes loaded for drainage? No flat plates, no blocking.
- Run Sanitize or Heat Dry cycle. Are dishes warm?
- Check for black slime. Indicates failed element.
- Test heating element with multimeter. 10 to 30 ohms is normal.
- Inspect for pitting or corrosion on element coils.
If steps 7 through 10 fail, the heating element is likely dead.
When to Call a Technician
DIY is not always the answer. Seek professional help if the Sanitize LED blinks after the cycle, dishes are cold after Heat Dry, the multimeter shows no continuity, black residue is present with poor drying, the model requires control board replacement, or you are uncomfortable accessing internal components.
Cost versus repair: For dishwashers over 10 to 12 years old, weigh repair cost, typically 200 to 400 dollars for part plus labor, against replacement.
Final Tips to Prevent Drying Issues
• Always use rinse aid. It is non negotiable.
• Select Heat Dry, Pro Dry, or Extended Dry. Never rely on Air Dry.
• Enable Door Open Dry if your model has it.
• Load dishes at angles to avoid water pooling.
• Place plastics on the top rack.
• Run hot water at the sink before starting the cycle.
• Clean the filter monthly. Clogs reduce efficiency.
• Inspect the heating element annually on older units.
If drying fails despite all checks, suspect the heating element, especially if your dishwasher is over a decade old.
Frequently Asked Questions About Whirlpool Dishwasher Not Drying
Why is my Whirlpool dishwasher not drying dishes after a full cycle?
The most common causes are using Air Dry instead of Heat Dry, empty or low rinse aid dispenser, water temperature below 120 degrees Fahrenheit, or a failed heating element. Check these factors first before calling a technician.
Does rinse aid really help drying performance?
Yes. Rinse aid is essential for drying. It reduces water surface tension so water sheets off dishes rather than forming droplets. Without it, dishes stay wet and spotted.
How do I test if my heating element is working?
Run a Sanitize cycle. If the Sanitize LED stays steady, the element works. If it blinks, there is a problem. Alternatively, run a Heat Dry cycle and feel the dishes. Warm dishes mean the element is functioning.
Why do plastics always stay wet in my dishwasher?
Plastics do not retain heat like glass or ceramic. Their cool surfaces inhibit evaporation, and their shapes often trap water. Place plastics on the top rack for best results.
What does black slime inside my dishwasher mean?
Black slime is likely degraded heating element coating, not mold. It indicates the heating element has failed and needs replacement.
When should I replace my dishwasher instead of repairing it?
If your dishwasher is over 10 to 12 years old and the heating element has failed, consider replacement. Repair costs, including parts and labor, often approach the cost of a new unit.
Key Takeaways for Fixing Your Whirlpool Dishwasher Not Drying
Most Whirlpool dishwasher not drying problems stem from simple causes. Wrong drying mode, no rinse aid, or low water temperature are the usual suspects. Fix those first before assuming component failure.
Rinse aid is non negotiable for effective drying. Adjust the setting based on your water hardness. Always select Heat Dry, Pro Dry, or Extended Dry for best results.
If dishes stay wet after checking settings, test the heating element. Use the Sanitize cycle as a diagnostic tool or feel for warm dishes after a Heat Dry cycle. A multimeter can confirm an open circuit.
With the right steps, you can restore dry, spot free results without calling a repairman. Check your settings, test your components, and enjoy dry dishes again.