How to Fix Amana Dishwasher Not Draining
You run your Amana dishwasher, the cycle ends, but water remains pooled at the bottom. It is frustrating, messy, and can lead to odors and poor cleaning. If your Amana dishwasher is not draining, you are not alone. This is one of the most common appliance issues homeowners face. The good news is that in 70% of cases, the cause is simple and fixable without calling a technician.
Most drainage problems stem from blockages, improper installation, or overlooked maintenance. Whether you own an ADB1400AMS (2015 model) or an ADB1600AWS, this guide walks you through every possible cause, how to diagnose it, and exactly what to do step by step. You will learn how to clean critical components, test electrical systems, and avoid costly mistakes like replacing parts that are not broken.
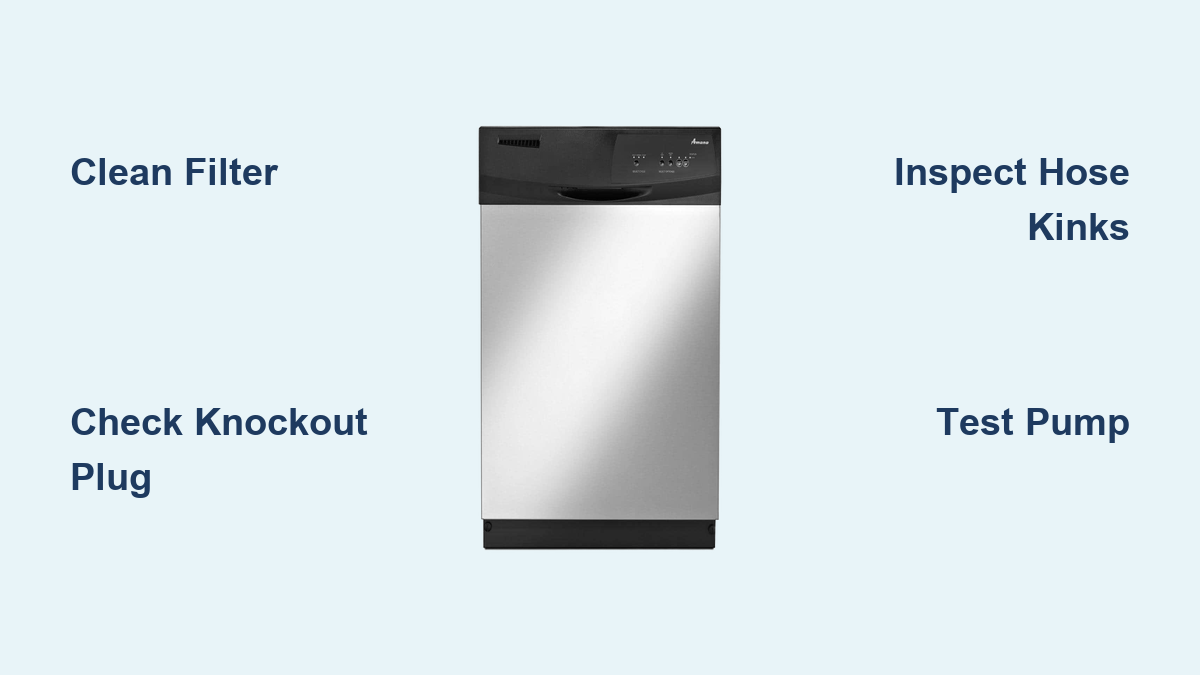
Clean the Filter First
The filter is the number one culprit when an Amana dishwasher will not drain. Located at the bottom of the tub, it traps food debris and grease. Over time, a clogged filter restricts water flow and strains the pump.
Remove and Rinse the Filter
To access the filter, pull out the lower rack. Twist the upper cylindrical filter a quarter turn counterclockwise and lift it out along with the lower mesh filter underneath. Rinse both parts under hot water at approximately 120 degrees Fahrenheit. Use an old toothbrush to scrub away stuck-on gunk. Check for hidden particles like rice grains or coffee grounds.
Pro Tip: Clean the filter every one to two months to prevent future clogs.
Reinstall Filter Securely
After cleaning, reinsert the filters and twist the top piece clockwise until locked. A loose or misaligned filter can trigger error behavior or block drainage even if clean. Never run the dishwasher without the filter. It is essential for proper operation and protects the pump from damage.
Check Garbage Disposal Knockout Plug
If your dishwasher was recently installed and will not drain, the knockout plug in the garbage disposal may still be in place. This small plastic disc blocks the inlet port and prevents water from exiting. Even if the disposal runs, water cannot enter if the plug is not removed, leading to full tubs after every cycle.
Confirm Plug Was Removed
Inspect the garbage disposal side inlet where the dishwasher drain hose connects. Look for a solid plastic disc still blocking the opening. This is a common oversight during DIY installations and often mimics pump failure.
Remove Plug With Screwdriver
Follow these steps to remove the plug:
- Turn off power to the disposal at the breaker.
- Disconnect the drain hose from the disposal side inlet.
- Insert a screwdriver into the hole and tap gently with a hammer to knock the plug through.
- Retrieve the dislodged piece from inside the disposal using tweezers or a brush.
- Reconnect the hose tightly.
Critical: This step is often missed during DIY installations and mimics pump failure.
Inspect Drain Hose for Kinks or Clogs
The drain hose runs from the dishwasher to the disposal or sink drain. A kinked, crushed, or poorly routed hose stops water flow completely.
Look for Kinks and Crush Points
Pull the dishwasher forward slightly and examine the hose behind the unit. Ensure it has no sharp bends, no pinching between cabinet walls, and a high loop of at least 20 inches above the floor. Without a high loop, wastewater can siphon back into the tub after draining.
Flush Hose With Baking Soda and Vinegar
To clear internal buildup, disconnect both ends of the hose. Pour half a cup of baking soda followed by one cup of vinegar into the hose. Let it fizz for 10 minutes, then flush with hot water. Alternatively, use a garden hose to blast out debris. Reconnect securely with clamps.
Air Gap Note: Some homes use an air gap instead of a high loop. If water backs up onto the countertop, this may be clogged.
Clear Air Gap Blockage
An air gap is a small chrome-plated cylinder near your sink faucet. It prevents backflow but can clog with food particles, causing drainage failure.
Remove Debris From Air Gap
To clean the air gap, unscrew the chrome cover and pull out the plastic insert. Use tweezers or a narrow brush to remove gunk. Rinse all parts and reassemble. This quick two-minute fix resolves many no-drain issues, especially if water backs up when the dishwasher runs.
Test Tip: Run the dishwasher right after cleaning to confirm improvement.
Examine Drain Pump for Obstructions
If filters and hoses are clear, inspect the drain pump. It is located at the base of the dishwasher and can become jammed with foreign objects.
Access Pump From Underside
Follow these steps to access the pump:
- Shut off water and power at the source.
- Pull the dishwasher out.
- Tip it forward slightly to access the bottom.
- Locate the pump assembly near the front.
Warning: Residual water will spill when removing the pump. Place towels underneath.
Remove and Clean Pump Assembly
The pump has a release tab. Press the tab and twist the unit counterclockwise to detach. Check the impeller, which is the plastic fan, for obstructions like glass shards, silverware, or bone fragments. Clean the housing and impeller with warm water and a soft brush. Reinstall by twisting back into place until it clicks.
Visual Cue: A broken or wobbly impeller means the pump needs replacement.
Test Pump Electrically With Multimeter
Before buying a new pump, test it with a multimeter. This confirms whether the motor is dead or just blocked, saving you from unnecessary purchases.
Measure Resistance in Ohms
Set the multimeter to ohms and touch the probes to the pump terminals. Expected readings are 15 to 40 ohms for single-speed pumps and 160 to 260 ohms for two-speed pumps. No reading or infinite resistance means the motor is burned out.
Save Money: Testing prevents unnecessary $25 to $150 replacements.
Rule Out Control Board or Door Switch
A faulty door latch or control board can prevent the pump from activating even if it is working fine. If the pump tests good but does not run, check that the door closes tightly. Listen for a click when closing. Run diagnostic mode if available to verify control signals.
Replace Failed Drain Pump
If the pump fails the multimeter test, replacement is necessary. Choose the right type for your budget and needs.
Choose OEM or Universal Pump
| Type | Cost | Pros |
|---|---|---|
| OEM (12002709) | Up to $150 | Guaranteed fit, longer warranty |
| Universal third-party | From $25 | Budget-friendly, confirm compatibility |
Ensure the new pump matches your model, especially for ADB1600AWS units. One user ordered a sensor for ADB1200AWS by mistake and found the connector did not fit.
Install New Pump Correctly
- Disconnect power and water.
- Remove old pump using twist-and-pull method.
- Insert new pump and twist until it clicks.
- Reconnect utilities.
- Run a test cycle.
Success Sign: Full drainage with no noise or vibration.
Verify Drain Cycle Timing
Amana dishwashers typically run the drain cycle for two minutes. Some users report only one-minute drains, leading to leftover water.
Normal Drain Duration Is 2 Minutes
Even with correct timing, drainage may fail due to mechanical issues. However, short cycles suggest control problems that need further investigation.
Use Diagnostic Mode to Monitor
Many Amana models support built-in diagnostics. Press the specific button combination found in your manual. Watch for pump activation, drain duration, and water level post-cycle. One user found two one-minute drain cycles occurred automatically, yet pressing Stop/Cancel triggered a stronger, more effective drain.
Possible Cause: Control board sending reduced power during auto cycles.
Investigate Control Board and Sensors
The turbidity sensor detects water clarity and helps determine cycle length. Paired with the control board, it manages draining. If either fails, cycles may end prematurely or revert to wash mode.
Check Turbidity Sensor Function
Do not replace parts blindly. One user replaced the sensor only to find the connector did not match because they had an ADB1600AWS, not ADB1200AWS.
Lesson: Always verify your exact model number before ordering replacement parts.
Consider Faulty Control Board
If the pump tests good, power reaches the unit, and the door switch works but no drain occurs, the control board may be faulty. However, this is rare compared to mechanical causes. Replace it only after ruling out clogs, wiring issues, and incorrect installation.
Rule Out Fill Valve Leakage
Sometimes water appears after the cycle not because it failed to drain, but because the inlet fill valve is weeping. This allows water to enter slowly after the cycle ends.
Test for Post-Cycle Water Ingress
Run a full cycle and let it drain. Wait 30 minutes and check if the water level rises. If it does, the fill valve is leaking and must be replaced.
Key Difference: True drainage failure leaves water immediately. Weeping adds water slowly afterward.
Inspect Check Valve for Backflow
Some Amana models include a check valve in the drain line. If stuck open, it allows water to flow back into the tub after draining.
Prevent Wastewater From Returning
Symptoms include the tub refilling slightly after the cycle ends and standing water reaching the float level without triggering alarms. While less common, this should be checked if all other causes are ruled out.
User Insight: A community member identified this as a potential hidden cause when hoses and pumps test fine.
Follow Proven Repair Workflow
Use this sequence to avoid wasted effort and resolve the issue efficiently.
Step-by-Step Troubleshooting Plan
Follow this ordered approach:
- Safety first: Cut power and water.
- Clean the filter. 70% of fixes stop here.
- Inspect the drain hose. Look for kinks and ensure high loop.
- Check the disposal knockout plug. Critical for new installs.
- Clean the air gap. Fast, free, and often overlooked.
- Inspect the pump. Remove and check for debris.
- Test the pump electrically. Confirm failure before replacement.
- Run diagnostics. Verify cycle timing and signals.
- Check the fill valve. Rule out post-cycle leaks.
- Verify model number. Avoid wrong part orders.
Time Required: 30 to 90 minutes.
Cost Saved: Avoid $200 plus service calls.
Prevent Future Drain Issues
Prevention beats repair. Follow these best practices to keep your Amana dishwasher draining properly.
Stick to Maintenance Schedule
| Task | Frequency | Benefit |
|---|---|---|
| Clean filter | Every 1 to 2 months | Prevents clogs |
| Run vinegar cycle | Monthly | Clears grease and lime |
| Inspect drain hose | Annually | Avoids kinks |
| Confirm high loop | After install | Stops siphoning |
| Check disposal | Annually | Ensures clear path |
Place a cup of white vinegar on the top rack and run a hot cycle monthly to keep internal lines clean. Use rinse aid to reduce filming and improve drying.
Frequently Asked Questions About Amana Dishwasher Not Draining
Why does my Amana dishwasher still have water at the bottom after cycling?
The most common cause is a clogged filter. Remove and clean the filter at the bottom of the tub. If the problem persists, check the drain hose for kinks, the garbage disposal knockout plug (for new installations), and the drain pump for obstructions.
How do I know if my drain pump is bad?
Listen for humming, grinding, or silence during the drain cycle. Test the pump with a multimeter. Resistance readings between 15 and 40 ohms for single-speed pumps indicate a working motor. No reading means the pump is faulty and needs replacement.
Can I use my dishwasher without the filter?
No. Running the dishwasher without the filter allows debris to enter the pump and drain lines, causing further damage. The filter is essential for proper operation and pump protection.
Why does my dishwasher drain but water comes back?
This indicates a siphoning issue or a faulty check valve. Ensure the drain hose has a high loop at least 20 inches above the floor. If an air gap is present, clean it thoroughly. If the problem continues, inspect the check valve for damage.
How much does it cost to replace an Amana dishwasher drain pump?
OEM drain pumps cost up to $150. Universal third-party pumps start at around $25. Always test the old pump with a multimeter before purchasing a replacement to confirm failure.
Do I need to call a professional for drainage issues?
Most drainage problems are mechanical and solvable through DIY troubleshooting. Start with cleaning the filter, checking the hose, and verifying the disposal plug. Call a professional only if the control board is faulty or if you are uncomfortable working with electrical components.
Key Takeaways for Fixing Your Amana Dishwasher Not Draining
Most Amana dishwasher not draining issues are mechanical, not electrical. Start with the filter, then move to the hose, disposal plug, and pump. Always test components with a multimeter before replacing them to avoid unnecessary expenses. Verify your exact model number when ordering parts, as connector mismatches are common between similar model numbers. With careful inspection and basic tools, you can fix it yourself, saving time, money, and hassle. Keep this guide handy, and never let standing water ruin another load of dishes.