How to Winterize a Dishwasher: Easy Steps
If you’re preparing a seasonal home, cabin, or RV for winter, learning how to winterize a dishwasher is one of the most important steps you can take. When temperatures drop below freezing, any residual water trapped inside the appliance can freeze, expand, and cause cracked components, leaks, or total system failure. The result is costly repairs and water damage when you return in spring.
This guide walks you through the safest, most effective methods to protect your dishwasher during cold months. You’ll learn exactly what tools you need, how to protect vulnerable parts like the inlet valve, and what to do when you’re ready to use it again.
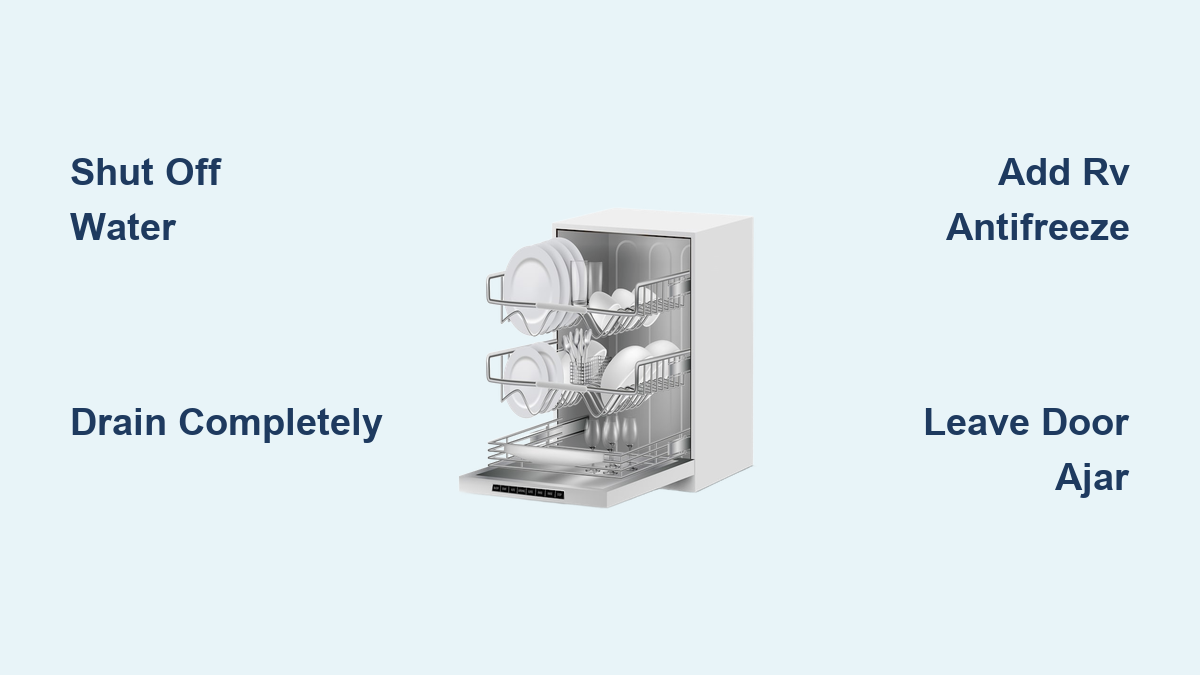
Shut Off Water and Power Before Winterizing
Before any winterization begins, safety comes first. Always disconnect both water and electricity to prevent leaks or accidental activation during storage.
Turn Off the Water Supply
Locate the hot water shutoff valve under the sink or near the dishwasher’s inlet line. Turn it clockwise until fully closed to stop water from entering the appliance.
For maximum protection, disconnect the inlet hose from both the house plumbing and the dishwasher’s water valve. Place the loose end into a bucket to catch any dripping water. Even after draining, small amounts can remain in the line.
• Label the disconnected hose with “Winterized – Do Not Connect” to avoid mistakes in spring
• Keep the bucket nearby during the entire process to catch residual drips
Cut Electrical Power
Go to your home’s circuit breaker panel and switch off the dedicated dishwasher circuit. Alternatively, unplug the unit if it’s accessible. This prevents the dishwasher from starting a cycle if someone opens the door or presses a button during storage.
Never skip this step. Residual power could activate pumps or heating elements, risking damage if water is still present inside the system.
Drain Residual Water Completely
Even after a normal cycle, water pools in low spots like the sump, filter, and pump. Left unfrozen, this is where damage starts during winter storage.
Run an Empty Drain Cycle
With the water supply off, start a short rinse or drain cycle. This pulls water from internal lines and expels it through the drain hose. Let the cycle run for just a few minutes, then cancel it.
The pump runs but cannot refill, which helps clear moisture from the circulation system effectively.
Remove Standing Water Manually
Open the door and inspect the bottom of the tub. Use a sponge, towel, or shop vac to extract any remaining water. Pay special attention to the filter area and around the spray arm base.
Clean the filter and spray arms now to prevent mold and debris buildup during storage. Reinstall them once dry.
Add RV Antifreeze to Protect Internal Parts

The most reliable method to prevent freezing is using non-toxic RV antifreeze. It safeguards components that cannot be fully drained, especially the inlet valve and pump.
Choose the Right Antifreeze
Use pink, propylene glycol-based RV antifreeze labeled safe for potable water systems. Never use automotive (ethylene glycol) antifreeze. It is toxic and damages seals.
Mixing antifreeze types or brands can reduce effectiveness. Stick to one product throughout the entire process.
Pour Antifreeze Into the Tub
Pour ½ to 1 gallon of RV antifreeze directly into the bottom of the dishwasher tub. Enough should cover the sump and pump area. About 1/3 gallon (1.25 L) may suffice for compact models.
Avoid splashing antifreeze on stainless steel walls or rack guides. Prolonged contact can cause staining. Wipe spills immediately with a damp cloth.
Circulate Antifreeze Through the System
To ensure full protection, the antifreeze must flow through the pump, spray arms, and drain line.
Run a Short Rinse Cycle
Restore power temporarily. Select a rinse or drain cycle and run it for 5 to 10 minutes. Then press Cancel or turn off the breaker.
This brief run circulates antifreeze through the circulation pump, the inlet valve chamber, and the drain hose.
A full cycle is not necessary. More time does not add protection and wastes antifreeze.
Confirm Flow in Drain Hose
Check the drain hose where it connects to the P-trap or garbage disposal. You should see pink fluid. This confirms the system is protected.
No color visible? Repeat circulation or inspect for kinks or clogs in the hose.
Protect the Water Inlet Valve

The inlet valve is the most vulnerable part. It holds water in a small chamber that does not drain on its own.
Why It Freezes Easily
Even after draining, the valve retains water. When temperatures drop, ice forms and can crack the housing, leading to leaks when water returns.
User reports indicate there was a reservoir about the size of a lemon where incoming water was stored. It did not empty during drainage and burst when frozen.
Clear It Safely
Two methods protect the inlet valve:
Option 1: Run a Dry Cycle
With water supply off, start a wash cycle. The dishwasher will attempt to fill, fail, and shut down. This helps pull residual water from the valve. Repeat once if needed.
Option 2: Disconnect and Drain (Maximum Protection)
For long-term storage, turn off power and water. Disconnect the inlet hose. Remove the valve if accessible and drain completely. Store it indoors or reinstall in spring.
The only way to fully clear the valve is to manually disconnect and drain it.
Alternative: Dry Method With Air Compressor
If you prefer no chemicals, use compressed air to blow water out of the system.
Use Low Pressure Only
Set your air compressor to 40 psi maximum. Higher pressure can damage seals or valves.
Connect the compressor to the main water inlet using an adapter. Open faucets one by one until only air comes out.
Run Dishwasher With Compressor Active
Start a cycle while the compressor runs. The unit will detect no water and eventually display a “no water” error code. This means internal lines are empty.
We run the dishwasher through a cycle until we get an error code stating there is no water source.
Vacuum Residual Water
Use a wet-dry vac on the drain hose to remove any last drops. This ensures the system is completely dry.
This method is best for technically skilled users or extreme climates. It is not recommended for beginners.
Winterize Other Appliances Together
Do not stop at the dishwasher. Protect all water-bearing systems at the same time for comprehensive winterization.
Washers and Fridges
For washing machines, add 1 gallon of RV antifreeze and run a short drain cycle.
For refrigerators with water lines, remove the water filter first. Then run antifreeze through the dispenser and ice maker. Let it produce pink ice cubes to flush the line.
I didn’t remove the filter the first time and wasted antifreeze. The filter absorbed the pink color.
P-Traps and Toilets
Pour 1 cup of antifreeze into each drain P-trap to prevent evaporation and freezing.
For toilets, add antifreeze to the tank and bowl. Hold the flush lever to coat internal valves.
Avoid Common Winterization Mistakes
Even small errors can lead to big problems. Here is how to get it right.
Using the Wrong Antifreeze
Using automotive antifreeze is toxic, damages seals, and contaminates plumbing. Use only RV-grade, propylene glycol antifreeze.
Forgetting the Water Heater Bypass
Not bypassing the water heater before pumping antifreeze causes antifreeze to flood the tank, making spring flushing difficult. Install a bypass kit before starting.
Closing the Dishwasher Door
Shutting the door tightly traps moisture and promotes mold and odors. Leave the door slightly ajar, about 1 to 2 inches.
Wasting Antifreeze
Running a full cycle with antifreeze wastes product. No added protection comes from extended cycles. Run only 5 to 10 minutes or use drain mode.
Spring Reactivation Steps
When warmer weather returns, reverse the process carefully to ensure proper operation.
Reconnect and Power On
Reattach the water supply hose and open the shutoff valve. Restore electrical power at the breaker. Ensure all connections are tight to prevent leaks.
Flush Out Antifreeze
Run 1 to 2 empty cycles with hot water and detergent. No rinse aid is needed initially.
This removes any antifreeze residue. Although non-toxic, it is not meant for food contact without flushing.
Never run dishes until the system is fully cleared.
Inspect and Clean
Check for leaks at the inlet valve, hose connections, and pump housing.
Clean the filter and spray arms again. Wipe down the interior and inspect the door gasket for cracks or mold.
Model-Specific Tips
Not all dishwashers are the same. Adjust your approach based on your setup.
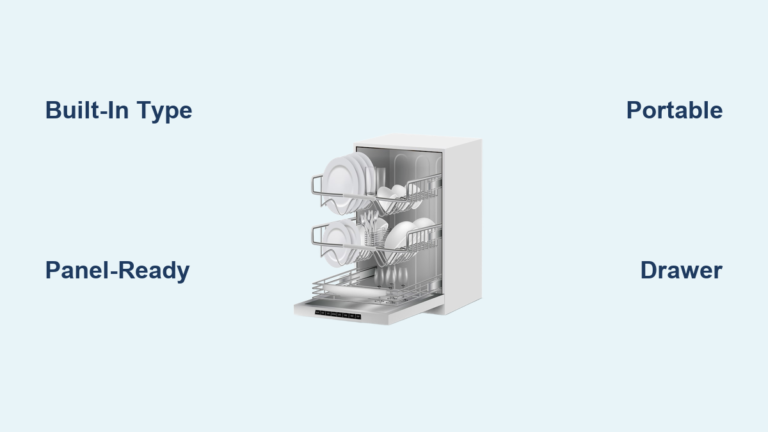
Built-In Home Models
Most common in cabins and seasonal homes. Follow the full antifreeze method. Access to the inlet valve may require removing a front panel.
Portable Units
Easier to handle. Detach hoses, drain completely, and store indoors if possible. Still benefit from a small amount of antifreeze in the tub.
RV Dishwashers
These connect to the kitchen faucet via a diverter. During winterization, the water heater is bypassed and off. Antifreeze flows through the system from the main line, or add antifreeze directly to the tub and run a short cycle.
The DHCO model draws hot water from the onboard heater. During winterization, only antifreeze flows through.
Frequently Asked Questions About Winterizing a Dishwasher
Do I really need to winterize my dishwasher?
Yes, if your home or cabin will be unheated during freezing temperatures. Even small amounts of trapped water in the pump, inlet valve, or drain hose can freeze, expand, and cause cracks or leaks.
Can I skip the antifreeze and just drain the water?
Draining alone is not sufficient. The inlet valve retains water in a small chamber that does not empty on its own. Without antifreeze or air blow-out, this water will freeze and damage the valve.
How much RV antifreeze do I need?
Most dishwashers require ½ to 1 gallon. Compact models may need only 1/3 gallon (1.25 L). When in doubt, have enough to cover the sump and pump area completely.
Can I use automotive antifreeze instead?
No. Automotive antifreeze contains ethylene glycol, which is toxic and damages seals. Only use pink, propylene glycol-based RV antifreeze labeled safe for potable water systems.
Should I leave the dishwasher door open or closed?
Leave the door slightly ajar, about 1 to 2 inches. This prevents mold, mildew, and odor buildup by allowing air circulation.
How do I know if winterization was successful?
Check the drain hose for visible pink antifreeze. There should be no standing water in the tub or sump. The door should be open, and power should be disconnected.
Key Takeaways for Winterizing Your Dishwasher
Winterizing a dishwasher is a quick, low-cost task that prevents expensive damage. The RV antifreeze method is the most effective for most users and provides visible confirmation through pink fluid in the drain hose.
Focus on protecting the water inlet valve, which retains water and is the most common failure point. Ensure full circulation of antifreeze, and always leave the door slightly open to prevent mold.
When you return in spring, reconnect water and power, then run 1 to 2 empty cycles to flush thoroughly before normal use. With these steps, your dishwasher will start up smoothly year after year.