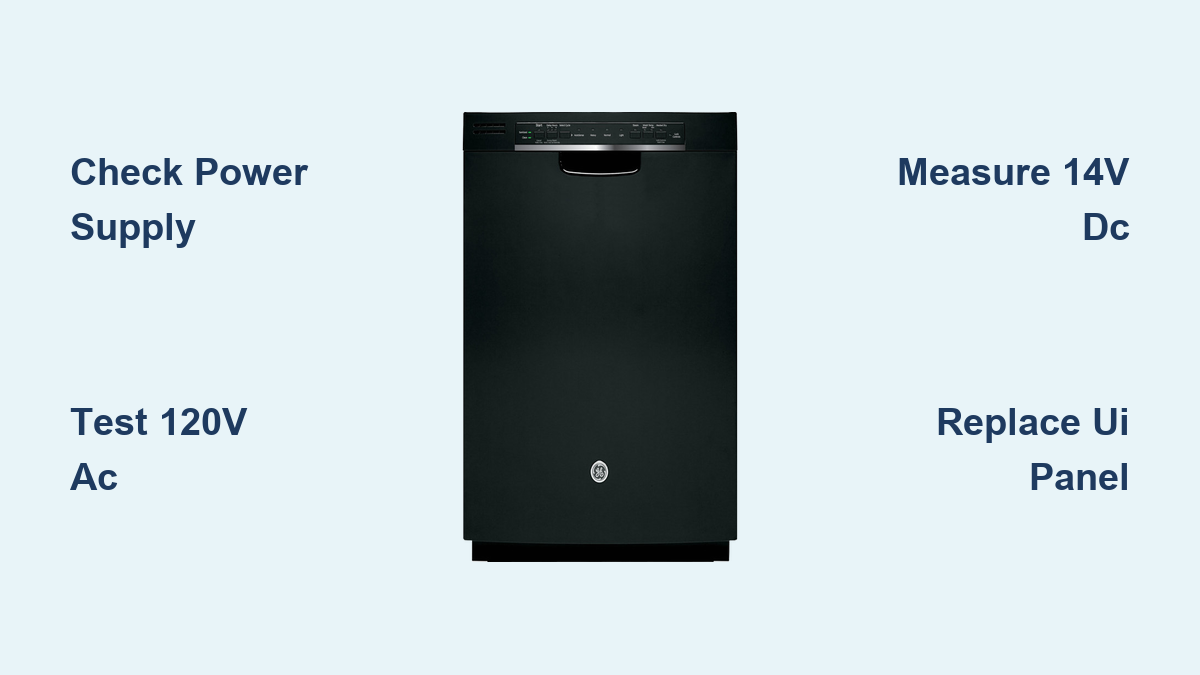
GE Dishwasher Display Not Working? Fix It Fast
You open the dishwasher after a cycle, press the Start button, and nothing happens. No lights, no display, no response. A GE dishwasher with a display that is not working is one of the most common appliance failures homeowners face. The good news? In many cases, you can diagnose and fix it yourself without calling a technician or buying a replacement unit.
This guide gives you a clear, step-by-step diagnostic path based on real technician procedures. Whether your GE dishwasher is completely dead or just intermittently unresponsive, you will learn exactly where to test for power, what voltage readings mean, and which parts to replace. Let us get your dishwasher back on track.
Check Power Supply First
Before opening panels or testing circuits, verify your dishwasher is receiving power. A surprising number of dead displays are simply due to a tripped breaker or hidden switch.
Test the Wall Outlet
If your GE dishwasher is plug-in, unplug it and test the outlet with a lamp or night light. If the device does not turn on, the outlet is faulty. Do not use an extension cord. Have a licensed electrician inspect the circuit.
Reset the Circuit Breaker
Go to your home electrical panel and locate the dishwasher dedicated breaker. Even if it looks on, turn it fully off, wait 3 seconds, then turn it back on. This resets any partial trip that may not be visible. Wait 30 seconds and check if the display lights up.
Find the Hidden Dishwasher Switch
Many kitchens have a dedicated wall switch near the sink, often labeled Disposal or Dishwasher. It may look like a light switch but controls power to the appliance. Ensure it is in the ON position. This single step resolves display issues in numerous homes, especially with models like the GDT655SSJ2SS and GDT695SMJ2ES.
Confirm 120V at Terminal Block
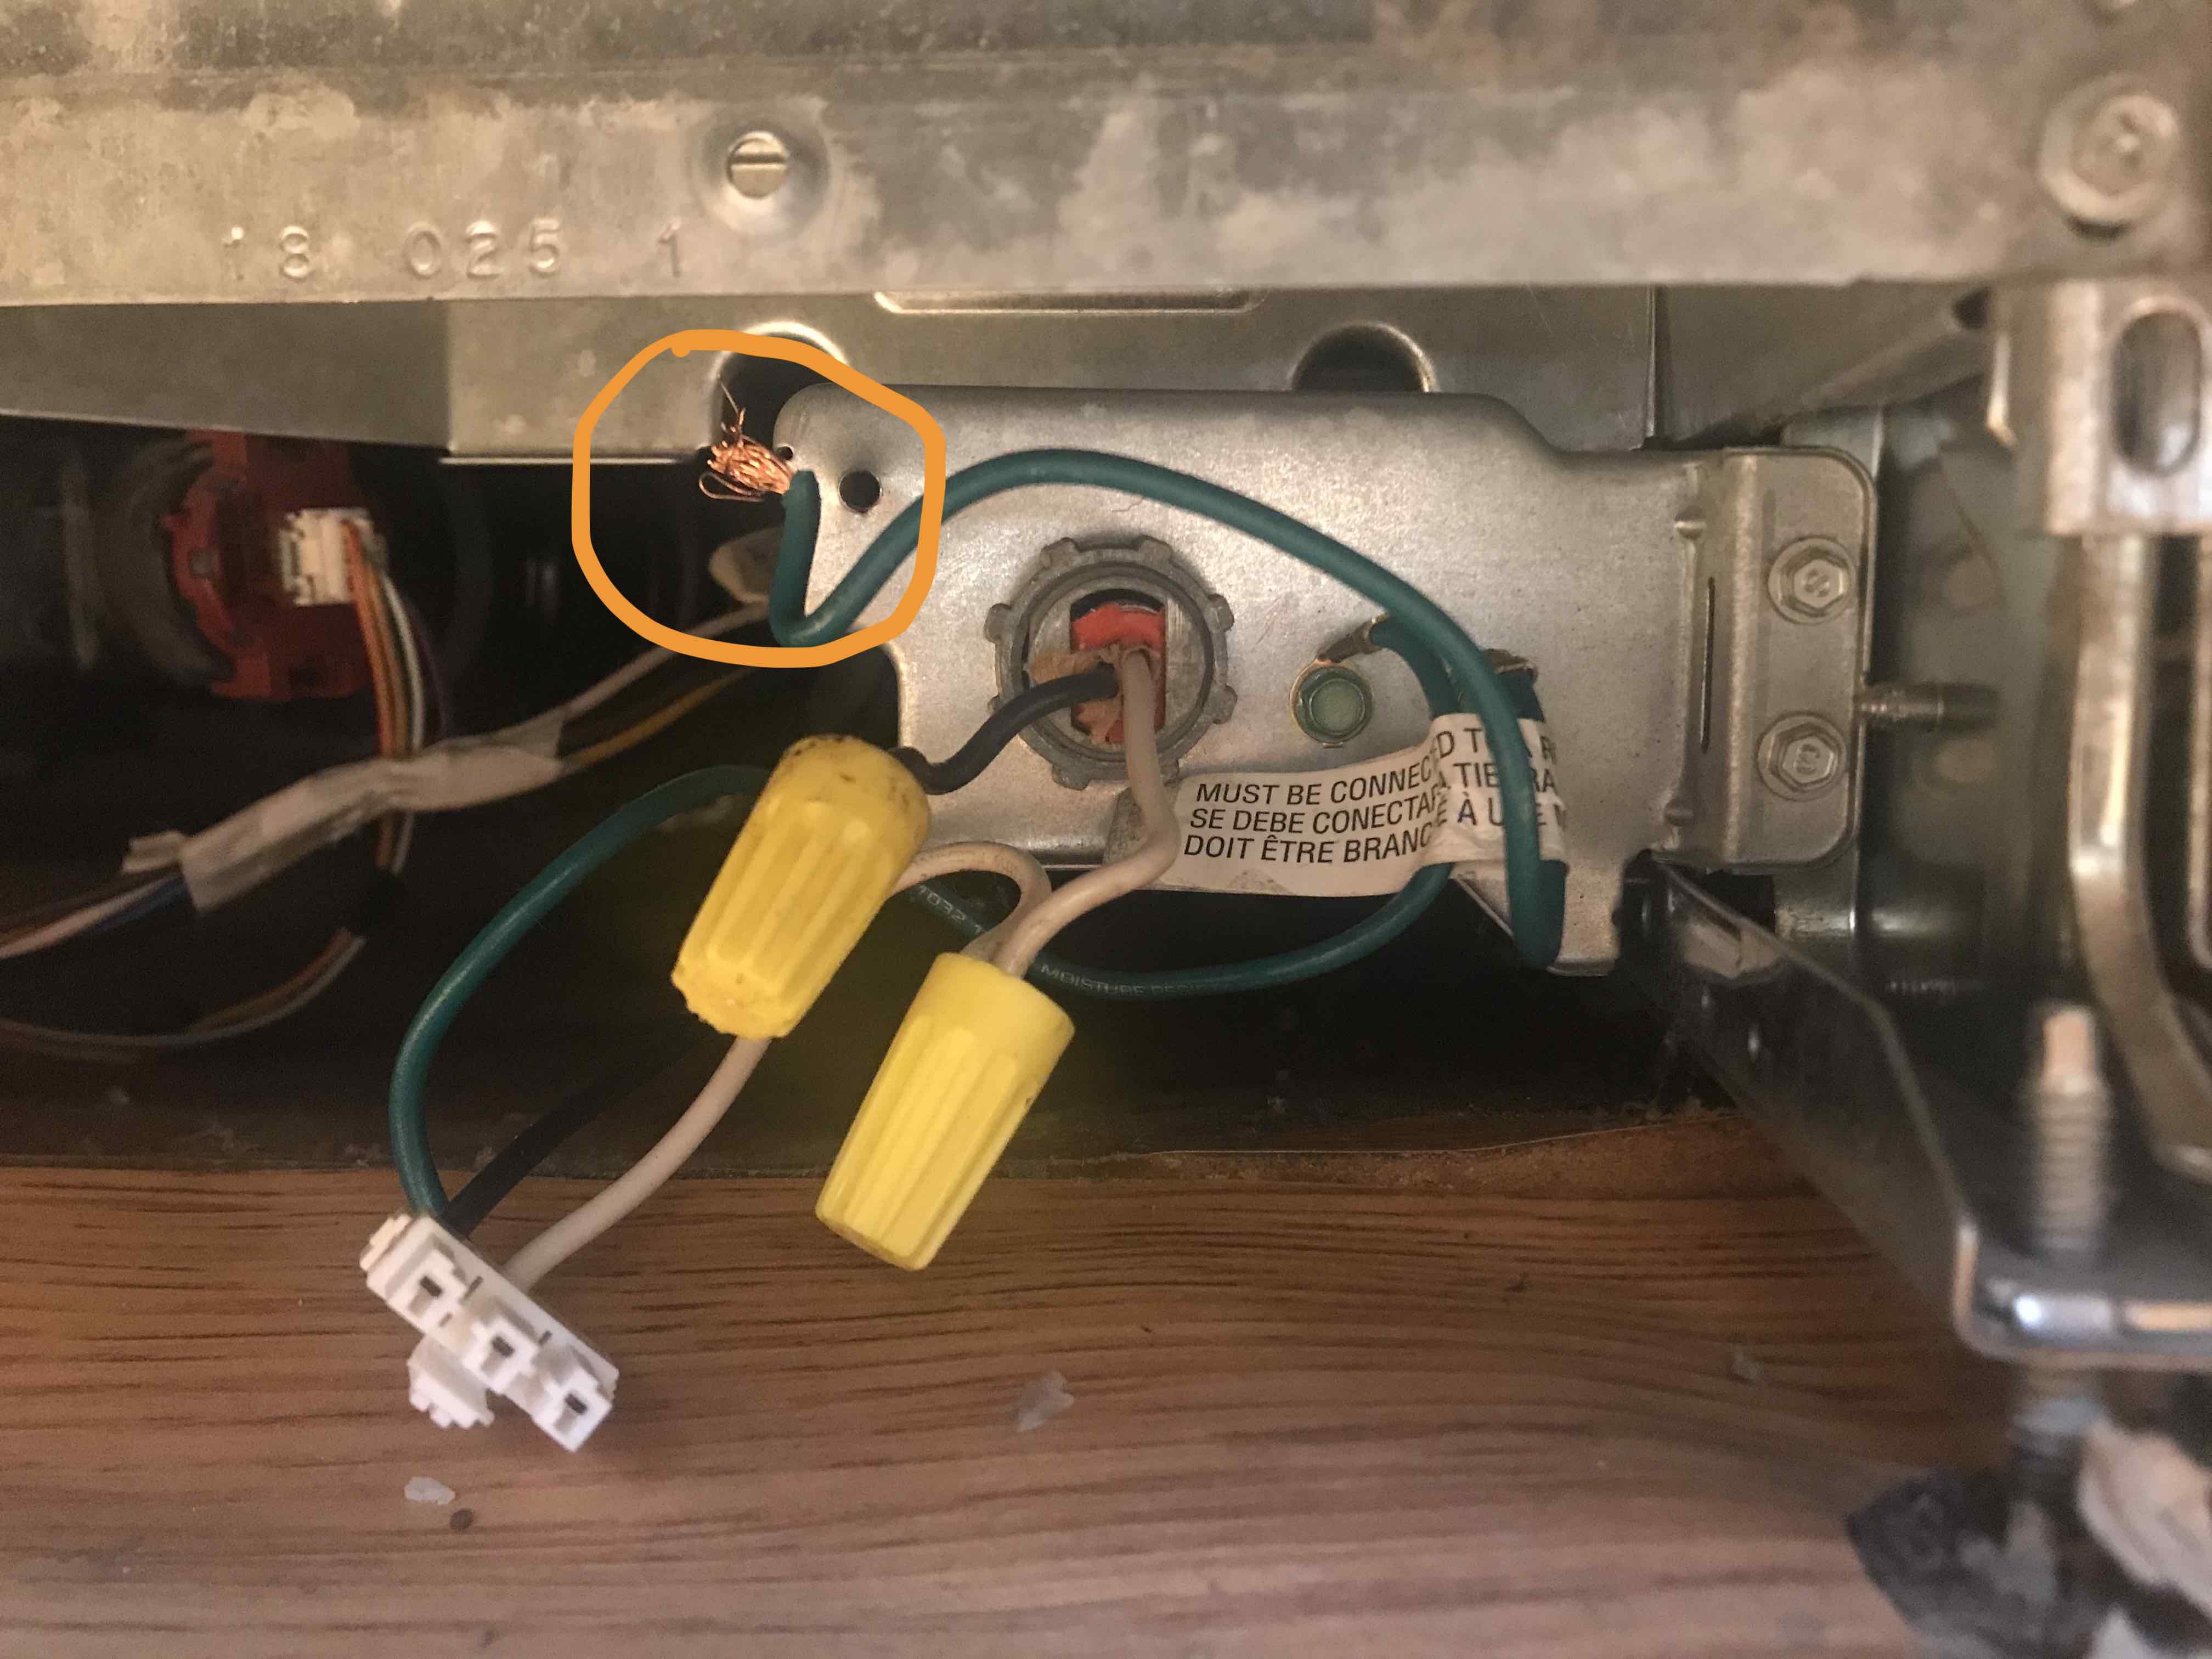
If the outlet, breaker, and switch are all functional, test for voltage at the dishwasher terminal block. This confirms power is reaching the unit.
Access the Terminal Block
- Turn off the circuit breaker.
- Remove the kick plate at the bottom front of the dishwasher using a Phillips or quarter-inch screwdriver.
- Locate the main terminal block with black, white, and green wires.
Measure AC Voltage
- Set a digital multimeter to AC voltage.
- Place the red probe on the black hot wire and the black probe on the white neutral wire.
- Restore power briefly and read the display.
110 to 120V AC means power is present. Proceed to control board testing. No voltage or under 90V means power is not reaching the unit. Check wiring connections or consult an electrician.
A pen-style voltage tester may show live but cannot confirm sufficient current. Always use a digital multimeter for accurate results.
Test Control Board DC Output
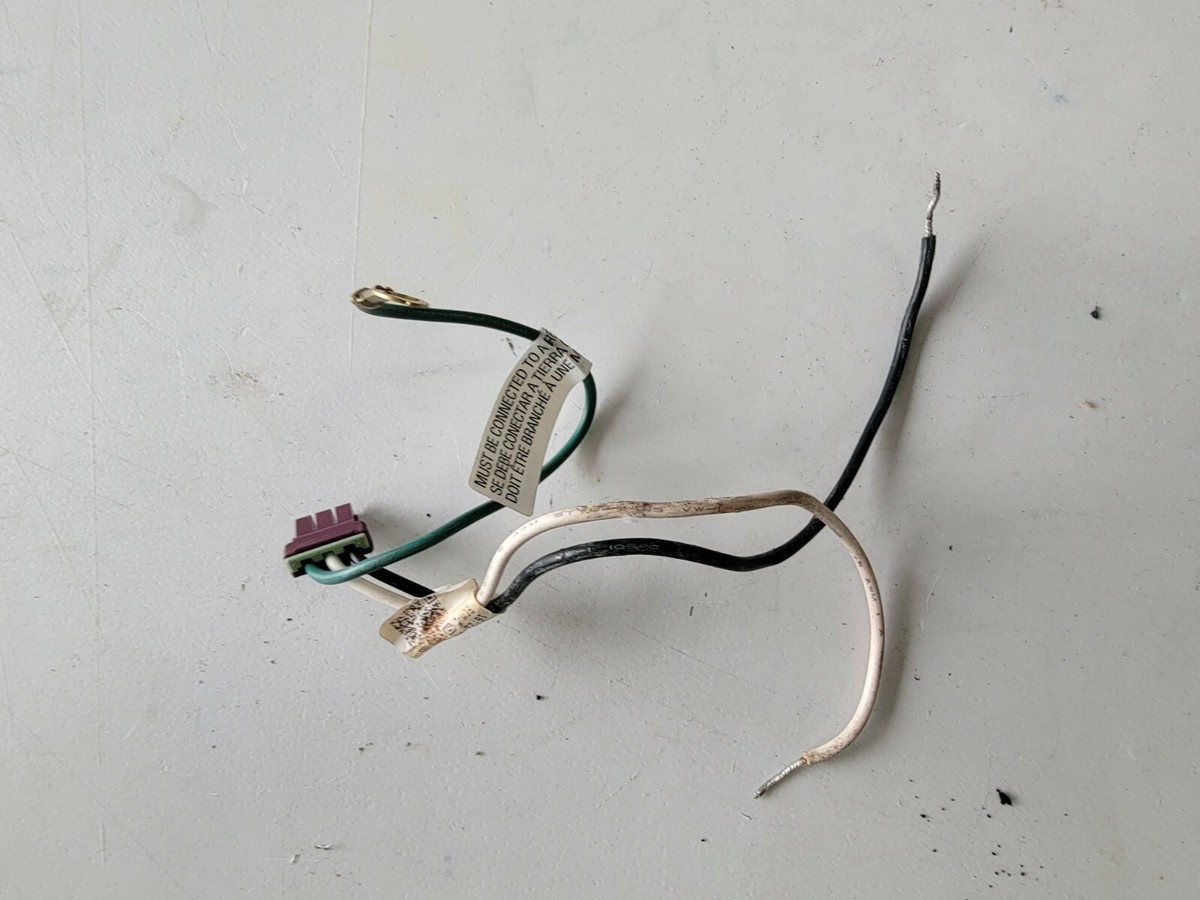
If 120V AC is confirmed, check whether the main control board is sending DC power to the display.
Locate the 5-Pin Door Harness
- Turn off power and remove the kick plate.
- Open the front control panel by removing two screws with black rubber washers at the top front.
- Gently pull the control tray forward to release it from the frame.
- Find the 5-pin white connector near the front that links the control board to the user interface in the door.
Measure DC Voltage at Pin 2 and Pin 5
- Restore power.
- Set multimeter to DC voltage.
- Insert the red probe into Pin 2 and the black probe into Pin 5.
- Read the voltage.
13.5 to 14.0V DC means the control board is working and the user interface is faulty. No voltage or below 10V DC means the main control board is defective and must be replaced. Intermittent reading indicates a possible loose connection or failing board.
If you have 14V at the 5-pin connector, the problem is almost always the UI, not the control board.
Check Control Board LED Status
The main control board has a built-in LED that provides diagnostic clues.
Observe the LED Light
After restoring power, look at the control board. Blinking green LED means the board is active and communicating. Solid green non-blinking LED means the board has power but lost communication with the UI.
Interpret the Signal
If the LED is solid green and you have 14V DC at the 5-pin connector, the user interface is dead. If the LED is off or flickering erratically, the control board may be damaged or not receiving stable power.
A solid green LED with no display strongly points to a failed UI panel, not the control board.
Perform a UI Reset
Before replacing parts, try resetting the user interface. Temporary software glitches can cause a blank display.
Soft Reset Procedure
- Press and hold SELECT CYCLE and START buttons.
- Hold for 5 seconds.
- Release and wait.
If successful, the display may flash or illuminate for 10 seconds. If nothing happens, the issue is hardware-related.
Power Cycle Reset
- Turn off the circuit breaker or unplug the dishwasher.
- Wait 60 seconds.
- Restore power.
- Check the display.
This clears temporary errors and reinitializes the control system. If the display remains dark, proceed to hardware testing.
Replace User Interface Panel
If you have 14V DC at the 5-pin connector and a solid green LED, the user interface panel is faulty and must be replaced.
Tools Needed
- Phillips screwdriver
- Anti-static wrist strap
- Replacement UI board matching your model number
Step-by-Step Replacement
- Turn off power at the breaker.
- Remove the kick plate.
- Disconnect the 5-pin harness from the control board.
- Open the dishwasher door fully.
- Remove screws at the bottom of the door and inside the door liner.
- Lift the inner door panel upward while pressing down on the handle to release clips.
- Expose the UI circuit board behind the control panel.
- Unscrew and remove the old UI board.
- Ground yourself by touching a metal surface to prevent static damage.
- Install the new board and reconnect ribbon cables or connectors.
- Reassemble the door and reattach all screws.
- Reconnect the 5-pin harness.
- Restore power and test.
Some models require personality settings to be configured on the new board. Refer to the manufacturer guide.
Replace Main Control Board
If there is no 14V DC output, the main control board is defective.
When to Replace
- No voltage at 5-pin connector
- No LED activity on board
- 120V AC confirmed at terminal block
Replacement Steps
- Follow disassembly steps to access the control board.
- Label all connectors before disconnecting.
- Remove mounting screws and transfer any jumpers or settings.
- Install the new board, ensuring the model number matches exactly.
- Reconnect all wires, reassemble, and restore power.
Using an incorrect board can cause permanent damage. Always verify compatibility.
Inspect the Wire Harness
If both UI and control board have been replaced but the display remains dead, the wire harness may be damaged.
Check for Damage
Look for pinched, frayed, or cracked wires, especially near door hinges and flex points. Test continuity using a multimeter in ohms mode. Focus on wires between the control board and UI.
Test for Shorts
- Disconnect power.
- Set multimeter to continuity beep mode.
- Test between wires that should not be connected, like ground to signal.
- A beep indicates a short. Replace the harness.
A faulty harness can mimic a dead control board. Always inspect before replacing expensive components.
Prevent Future Display Failures
A failed display often stems from moisture, surges, or wear. Protect your investment with these tips.
Use a Surge Protector
Plug-in models should use a UL-listed surge protector. Hardwired units should have a whole-house surge suppressor installed. This prevents damage from voltage spikes during storms or power restoration.
Avoid Moisture Exposure
Do not leave the door open in high-humidity environments. Clean the door gasket regularly to prevent steam leaks. Wipe down the control panel after hand-washing nearby items.
Check Connections Annually
Tighten terminal block screws to prevent arcing. Inspect the kick plate and wiring for signs of wear. Ensure the dishwasher is level to reduce door stress.
Know When to Call a Pro
Some situations require professional help.
Call a Technician If
- You are uncomfortable working with electricity.
- Voltage tests show no power at the terminal block.
- The issue returns after replacing a part.
- You see burn marks, smell burning, or hear buzzing.
What a Pro Will Do
A professional will perform advanced diagnostics for shorts and ground faults. They will access the tech sheet behind the kick plate for error codes. They will test components under load and identify secondary failures like pump or sensor issues.
Model-Specific Fixes
GE GDT655SSJ2SS No Power
- Check the hidden wall switch near the sink.
- Verify the power cord is plugged in.
- Test the outlet with a lamp.
- If no power, suspect control board, power cord, or wiring failure.
GE GDT695SMJ2ES Dead Display
Symptoms include no lights, no beeps, and unresponsive buttons. Test for 14V DC at the 5-pin connector with a solid green LED. The fix is to replace the user interface control panel, which is the most common failure point.
Frequently Asked Questions About GE Dishwasher Display Not Working
Why is my GE dishwasher display not working at all?
The most common causes are a tripped circuit breaker, a hidden wall switch being off, a failed user interface panel, or a defective main control board. Start by checking power supply before testing internal components.
How do I test if my GE dishwasher control board is bad?
Test for 13.5 to 14.0V DC at the 5-pin connector between Pin 2 and Pin 5. If voltage is present, the control board is working and the user interface needs replacement. If no voltage is present, the control board is defective.
Can I reset my GE dishwasher display to fix the issue?
Yes. Perform a power cycle reset by turning off the breaker for 60 seconds, then restoring power. You can also try holding SELECT CYCLE and START buttons for 5 seconds to attempt a soft reset.
How much does it cost to replace a GE dishwasher display panel?
Replacement user interface panels typically cost $50 to $150, depending on your model. Main control boards range from $100 to $300. Professional labor adds $100 to $200 if you hire a technician.
Is it worth repairing a GE dishwasher with a dead display?
If the dishwasher is otherwise functioning properly, replacing the display or control board is usually worth the cost. A new dishwasher costs $800 to $1,200, so repairs under $300 generally make financial sense.
Key Takeaways for Fixing Your GE Dishwasher Display
A non-working GE dishwasher display is usually fixable. Start by checking power supply, including the hidden wall switch and circuit breaker. Test for 120V AC at the terminal block first, then check for 14V DC at the 5-pin connector to determine whether the user interface or main control board is at fault. Replace the faulty component, reassemble, and test. With the right tools and knowledge, you can restore full function and save hundreds in repair or replacement costs.