How to Replace Dishwasher Door Seal
Is your dishwasher leaking water around the door? Are musty smells lingering after cycles? A worn or damaged door seal could be the culprit. Replacing a dishwasher door seal, also called a gasket, is a straightforward DIY fix that stops leaks, improves drying performance, and prevents mold growth. Most replacements take under 30 minutes with basic tools. This guide walks you through every step, from identifying failure signs to testing your repair. You’ll learn model-specific tips for Whirlpool, Frigidaire, Kenmore, GE, and JennAir units, plus how to avoid common mistakes that cause post-installation leaks.
Signs Your Dishwasher Door Seal Needs Replacement
Water Leaking Around the Door
Water pooling at the bottom corners of your dishwasher, especially on the left or right side, is a classic sign of a failing door seal. Leaks often worsen over time, spreading to the kick plate or under cabinetry. If you notice dampness only during or after cycles, the gasket is likely compromised and needs replacement.
Cracked or Brittle Rubber
Over time, heat and detergents degrade rubber. Inspect the seal for visible cracks, splits, hardened inflexible material, or permanent warping and creases. Gaskets typically last 5 to 7 years. If yours feels stiff or shows visible damage, replacement is necessary.
Mold and Musty Odors
Trapped moisture in a degraded seal breeds mold and mildew. Even with regular cleaning, persistent smells indicate the gasket can no longer form a tight barrier. Replacing it eliminates the source of odor and improves hygiene inside your dishwasher.
Poor Drying Performance
Steam escapes through a faulty seal, reducing internal heat and humidity needed for drying dishes. If your dishes remain wet despite using heat-dry settings, check the door gasket before assuming a heating element issue.
Tools and Supplies Needed for Replacement
Essential Parts and Equipment
You will need the correct door seal matched to your model exactly, work gloves to protect your hands from sharp edges, and a mild dish soap for cleaning. A sponge or soft cloth works well for scrubbing, while cotton swabs help reach tight spots.
Installation Aids
Gather needle-nose pliers for removing stubborn gasket material, a blow dryer set to low heat for softening new rubber, and sharp scissors or a utility knife for trimming excess material. Having these tools ready before starting ensures a smooth replacement process.
Step-by-Step Dishwasher Seal Replacement
Disconnect Power First
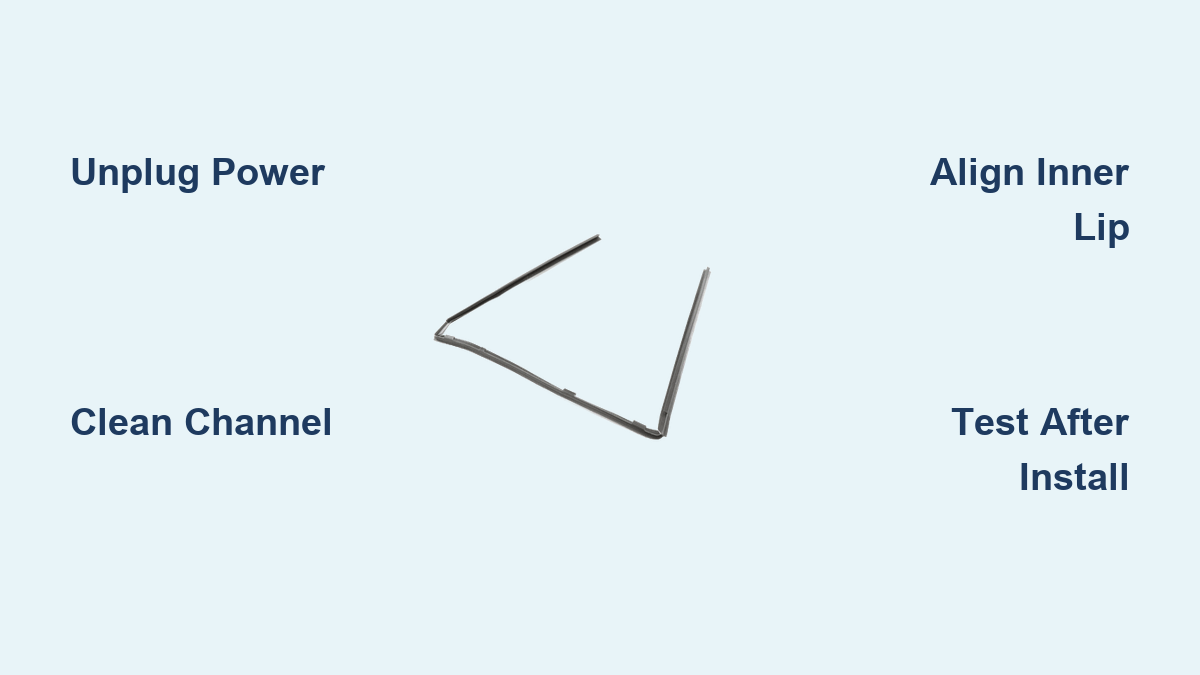
Before touching any component, unplug the dishwasher or turn off the circuit breaker. This prevents electrical hazards, especially when working near hinges or internal parts. Confirm power is off by opening the door and checking that no control lights are active.
Remove the Old Door Gasket
Start at the lower-left corner of the door. Use your fingers to gently pull the gasket out of its channel. Work slowly around the perimeter, using needle-nose pliers only if the rubber is stuck or brittle. Try to extract the entire gasket without tearing, as this helps you verify alignment marks and directional features.
Clean the Gasket Channel Thoroughly
Mix warm water with mild dish detergent. Dip a sponge or soft brush into the solution and scrub the entire groove where the gasket sits. Focus on corners and overlap zones where grime accumulates. Use cotton swabs for crevices near hinges and the latch area. Wipe the channel dry with a clean cloth, ensuring no moisture remains before installing the new gasket.
Prepare the New Gasket
New gaskets often arrive stiff and creased. Set a blow dryer to low heat and warm the rubber for 30 to 60 seconds while gently stretching it. This softens the material, making it easier to seat properly. Compare the new gasket to the old one, checking that the inner sealing lip faces inward toward the tub and any angled edge points downward.
Install the New Door Seal
If your model has a center mark, align it directly beneath the door latch. No mark? Fold the gasket in half to find the midpoint, then match it to the tub center. Press the center section into the channel first, then work outward toward both ends. At corners, guide the gasket smoothly without kinking or twisting. The rubber should bend naturally without forcing.
Trim Excess Gasket Material
When you reach the starting point, allow about 2 centimeters of gasket to extend beyond the end. Trim the excess with sharp scissors or a utility knife, making a clean straight cut so the ends meet seamlessly.
Set the Seal Properly
After installation, close the door gently but fully. Leave it closed for at least one hour, preferably several, to let the gasket conform to the tub shape. The door will feel stiff initially, which is normal and improves over 2 to 5 days as the rubber settles.
Test the Repair
Turn the circuit breaker back on or plug in the dishwasher. Run a short rinse or quick wash cycle. During the cycle, check the floor around the dishwasher, kick plate area, and corner seals for water. If you see dripping, pause the cycle and inspect gasket seating.
Model-Specific Installation Tips
Whirlpool, KitchenAid, and Maytag Models
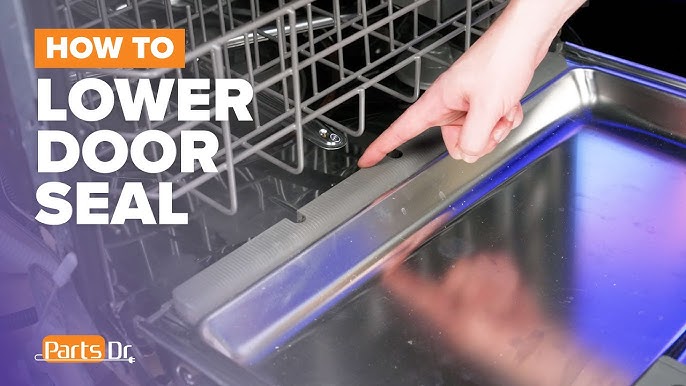
Whirlpool-family models like those using the W11498831 gasket allow direct replacement without disassembly. No center mark exists, so align the midpoint under the latch. The inner lip faces inward. Press into the groove by hand with even pressure all around. Over 90 percent success rate occurs when the channel is clean and orientation is correct.
Frigidaire and Electrolux Models
Frigidaire models include a visible center indicator for precise alignment using the 5304475599 gasket. The gasket may fold slightly forward at the bottom, which is intentional for better sealing. Warm the gasket before installation to reduce stiffness and speed up settling.
Kenmore Models
Kenmore models like the 58715 72201 have an asymmetrical gasket design with two raised seals that insert into the door and one angled edge that must face downward. Slide the gasket in with the interior panel slightly lifted. Misalignment causes immediate leaks, so double-check direction before final seating.
GE Models
Many GE models like the GDF520PGDBB cannot replace the seal without disassembling the door. Limited side access due to hinge tension makes this impractical. The recommended process requires removing the dishwasher from the cabinet, taking off the door, separating inner and outer panels, sliding in the new gasket, and reassembling carefully. DIY repair is high-risk for these models, so consider professional service.
JennAir Models
JennAir gaskets are model-specific with no universal equivalents. Refer to official service manuals for installation. Some models require panel disassembly. Always match the part number exactly and use genuine manufacturer parts only.
Troubleshoot Common Problems

Water Leaks After Replacement
Water leaks after replacement typically stem from the gasket not being fully seated, incorrect orientation with the lip facing out, or a dirty channel. Reopen and reseat the entire gasket, verify the inner lip faces inward, and re-clean the groove if residue remains.
Door Won’t Close Smoothly
A door that won’t close smoothly usually results from excess gasket material, misaligned joints, or over-trimming causing gaps. Recheck the overhang before trimming, aiming for 2 centimeters. Adjust ends for a seamless join and let the door sit closed longer to allow settling.
Gasket Pops Out During Cycle
This usually happens due to a wrong part number, not pressing the gasket fully into the channel, or a damaged groove. Confirm compatibility, reinstall with firm even pressure, and inspect the channel for dents or warping.
Mold Returns Quickly
Quick mold return indicates inadequate cleaning or poor post-cycle ventilation. Prevent this by cleaning the seal monthly, wiping it dry after use, and leaving the door ajar between cycles.
Extend Gasket Lifespan
Inspect the door seal every 6 months for cracks, stiffness, or deformation. Clean the seal monthly using soapy water and a soft brush, then rinse and dry thoroughly. Avoid harsh cleaners like bleach or ammonia, as these break down rubber over time. Leave the door slightly ajar after each cycle to let moisture escape. Replace the gasket proactively every 5 to 7 years even without visible leaks.
Where to Buy the Right Seal
Purchase replacement seals from official manufacturer parts portals including Whirlpool at whirlpool.com/parts, GE at geapplianceparts.com, Kenmore at searspartsdirect.com, and JennAir at jennair.com/support. Trusted third-party retailers include RepairClinic.com for model lookup with diagrams, PartSelect.com for user reviews and videos, and AppliancePartsPros.com for OEM and compatible options. Always enter your model number found inside the door before purchasing.
Frequently Asked Questions About Replacing Dishwasher Door Seals
How Do I Know If My Dishwasher Seal Needs Replacing?
Signs you need a new dishwasher door seal include visible water leaks around the door corners, cracked or brittle rubber, persistent mold and musty odors despite cleaning, and poor drying performance where dishes remain wet after cycles.
Can I Replace My Dishwasher Door Seal Myself?
Yes, most dishwasher door seal replacements are straightforward DIY repairs. Whirlpool, Frigidaire, and Kenmore models allow quick swaps without special tools. GE and some JennAir models require door disassembly, which may need professional help.
How Long Does It Take to Replace a Dishwasher Door Seal?
Most replacements take 10 to 30 minutes depending on your model and experience level. Simple models like Whirlpool and Frigidaire typically take 10 to 15 minutes. More complex models requiring door removal can take an hour or more.
How Often Should a Dishwasher Door Seal Be Replaced?
Replace your dishwasher door seal every 5 to 7 years as preventive maintenance, even if no leaks are present. Regular inspection every 6 months helps catch early signs of wear.
What Causes a Dishwasher Door Seal to Fail Prematurely?
Premature seal failure results from frequent high-temperature wash cycles, exposure to harsh or abrasive cleaning agents, mechanical damage from door slamming or utensil loading, and poor maintenance leading to mold and mineral buildup.
Key Takeaways for Replacing Your Dishwasher Door Seal
Replacing a dishwasher door seal is an easy, cost-effective fix for most models. Whirlpool, Frigidaire, and Kenmore units allow quick swaps without professional help. GE and some JennAir models require advanced steps including door disassembly, so consider professional service if you are uncomfortable with that process.
The most critical success factors include disconnecting power before starting, thoroughly cleaning the gasket channel, installing the new seal with the inner lip facing inward, and allowing at least one hour for the gasket to conform before running a test cycle. With the right part and proper installation, your repair should last 5 to 10 years.
Regular maintenance keeps the seal working efficiently. Inspect every 6 months, clean monthly with mild soap, avoid harsh chemicals, and leave the door slightly ajar between cycles. These simple habits stop small issues from becoming major leaks and extend the life of your replacement seal.