Dishwasher Not Drying? Fix It Fast
You’ve loaded the dishes, started the cycle, and come back to find everything still wet, especially the plasticware. A dishwasher not drying properly is one of the most common household frustrations, affecting performance, convenience, and even hygiene. The good news is that in 90% of cases, poor drying stems from simple, fixable issues like missing rinse aid or incorrect cycle selection, not broken parts. This guide breaks down every possible cause, from user error to electrical failure, and delivers step-by-step solutions tailored to your specific model.
Rinse Aid Is Empty or Misused
Rinse aid is the number one factor in drying performance, especially in modern high-efficiency dishwashers. Without it, water beads cling to dishes instead of sheeting off, leaving surfaces streaked and damp.
Why Rinse Aid Matters
Rinse aid reduces water’s surface tension, allowing it to flow off dishes quickly and evaporate faster. It’s not optional; it’s essential. In condensation-drying models like Bosch and Miele, rinse aid can improve drying by up to 70%. Even heat-dry models from Whirlpool and KitchenAid rely on it for spot-free, dry results.
Check and Refill the Dispenser
Open the rinse aid cap, usually inside the door. Fill until the reservoir is full, most have a max line. Use high-quality rinse aid like Cascade; cheap alternatives often underperform. Refill every 4 to 6 weeks with regular use.
Some models have a rinse aid dosage dial, low to high. If plastics stay wet, increase the setting. Refer to your manual for guidance.
Fix LG Rinse Aid Leaks
LG dishwashers are prone to dispenser leaks due to worn seals or clogs. If the reservoir empties too fast, remove the cap and clean the nozzle. Inspect the rubber gasket and replace if cracked. Ensure the cap clicks tightly shut.
Wrong or Missing Dry Cycle
Even a perfectly functioning dishwasher won’t dry dishes if the correct drying mode isn’t selected. Many users unknowingly run cycles that skip or shorten drying.
Choose the Right Drying Mode
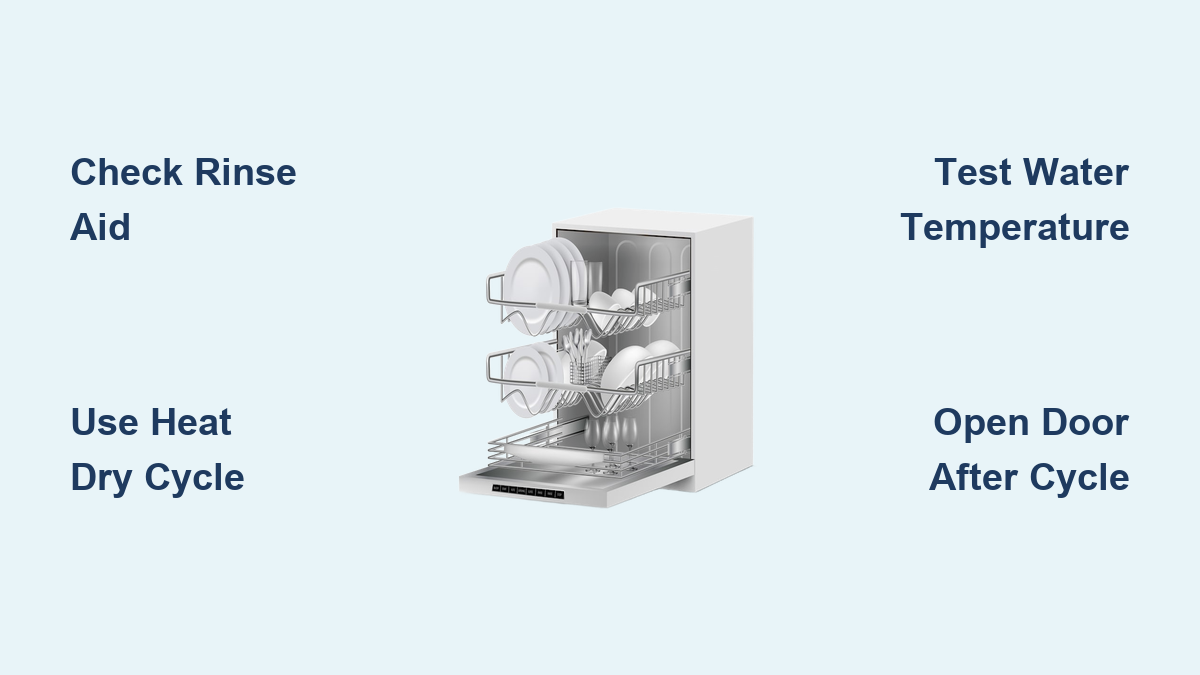
Different dishwashers offer various drying options. Heat Dry heats the interior with a heating element and works on all models, especially older ones. ProDry by KitchenAid uses a fan and heat for faster drying, best for plastics and stubborn moisture. Sahara Dry by Frigidaire combines heat and forced air for maximum dry performance. Condensation Dry uses the stainless tub to absorb moisture, common on Bosch and Miele models but requires rinse aid. Air Dry uses no heat and dries slowly with ambient air, designed for energy saving rather than full drying.
Avoid Quick Wash Cycles
Quick Wash, Express Wash, or Eco cycles often skip extended drying. These are designed for lightly soiled items, not full drying. If you need dry dishes, use Normal, Heavy, or Auto Wash with Heat Dry enabled.
Enable Heat Dry Manually
On GE, Frigidaire, and older models, Heated Dry isn’t always on by default. After starting the cycle, press the Heated Dry button to activate it. The indicator light should stay lit.
Water Too Cold for Proper Drying
Dishwashers need hot water, not just for cleaning but for drying. If inlet water is below 120°F, drying fails because there’s not enough residual heat.
Test Your Water Temperature
Run the kitchen tap for 1 to 2 minutes. Hold a thermometer under the flow. The ideal temperature is 120°F. Below 110°F means drying will suffer.
Fix Cold Water Issues
Adjust your water heater to 120°F, not higher to avoid scalding risk. Pre-rinse the line by running hot water at the sink before starting the dishwasher. Some models, especially Bosch, have built-in heaters, but older units may need an external dishwasher booster.
Dishes Loaded Incorrectly
Even with perfect settings, poor loading traps water and blocks airflow, guaranteeing wet dishes.
Load for Maximum Drainage
Angle bowls and cups downward so water runs out. Face dishware toward the center, not against the door. Don’t nest items; plates, pans, or containers stacked together hold water. Leave 1 inch between items for air circulation. Place plastics on the top rack; they’re lighter and dry better with airflow.
Handle Problem Items
Plastic containers don’t retain heat, so angle them downward. Load baking sheets and pans on an angle on the bottom rack. Clip lids and Tupperware to rack edges or stand them upright.
New dishwashers may need 5 to 10 cycles to break in; internal sensors and heating elements stabilize over time.
Failed Heating Element
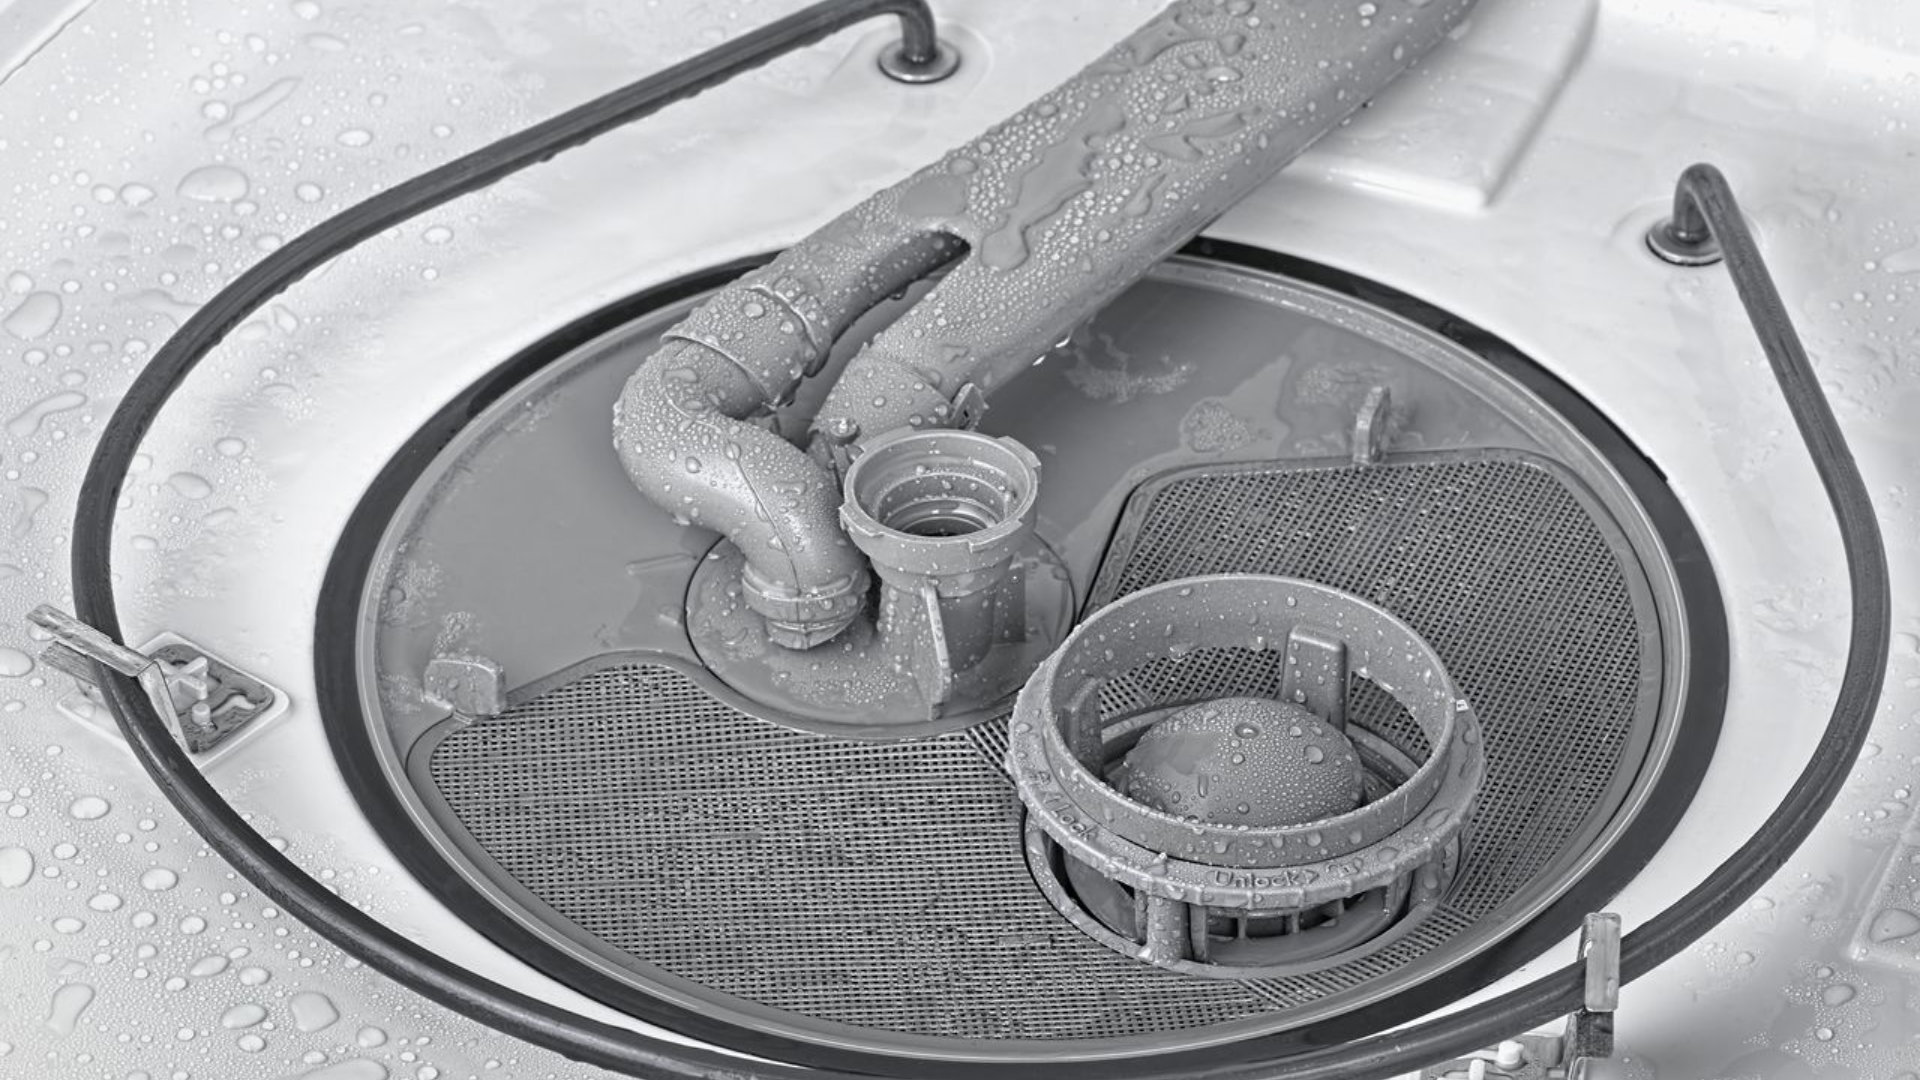
If dishes come out cold and wet, the heating element may be dead. This is a common failure in older units or models exposed to debris.
Locate and Inspect the Element
The element is found at the bottom of the tub. Look for blisters, cracks, corrosion, or melted plastic. Burnt spots or warped metal indicate a failed element.
Test with a Multimeter
Turn off power at the breaker. Remove wires from element terminals. Set multimeter to ohms. Touch probes to terminals. Normal reading is 10 to 30 ohms, varying by model. Failed element shows infinite resistance and reads OL.
DIY replacement costs $30 to $150 and takes 1 to 2 hours. Reuse the rubber washer and don’t over-tighten the mounting nuts.
Blown High Limit Thermostat
This safety device cuts power to the heater if it overheats. Once tripped, it doesn’t reset and must be replaced.
Find the Thermostat
It’s usually mounted on the tub bottom or behind the toe kick panel. It has two wires connected.
Test for Continuity
Disconnect power. Remove wires. Test with multimeter. Good thermostat shows 0 to 1 ohm. Bad thermostat shows infinite resistance, OL.
GE older models may have a reset button; press it if present. Whirlpool and KitchenAid may trigger a software lockout and require a reset.
Stuck or Failed Vent System
In fan-assisted models like KitchenAid ProDry, LG, and Samsung, a vent releases humid air. If it fails, steam stays trapped and dishes stay wet.
Check Vent Operation
Start a dry cycle and watch the vent, usually near the door latch. It should open for 15 to 20 minutes. If closed, the wax motor or fan may be faulty.
Test the Wax Motor
Disconnect power. Remove wires and test resistance. Normal is 600 to 1,800 ohms. Failed shows no continuity, OL.
Inspect the Fan Motor
Spin by hand; it should turn freely. Seized or grinding means replacement is needed.
Take photos before disassembly; reassembly can be tricky.
Control Board Not Sending Power
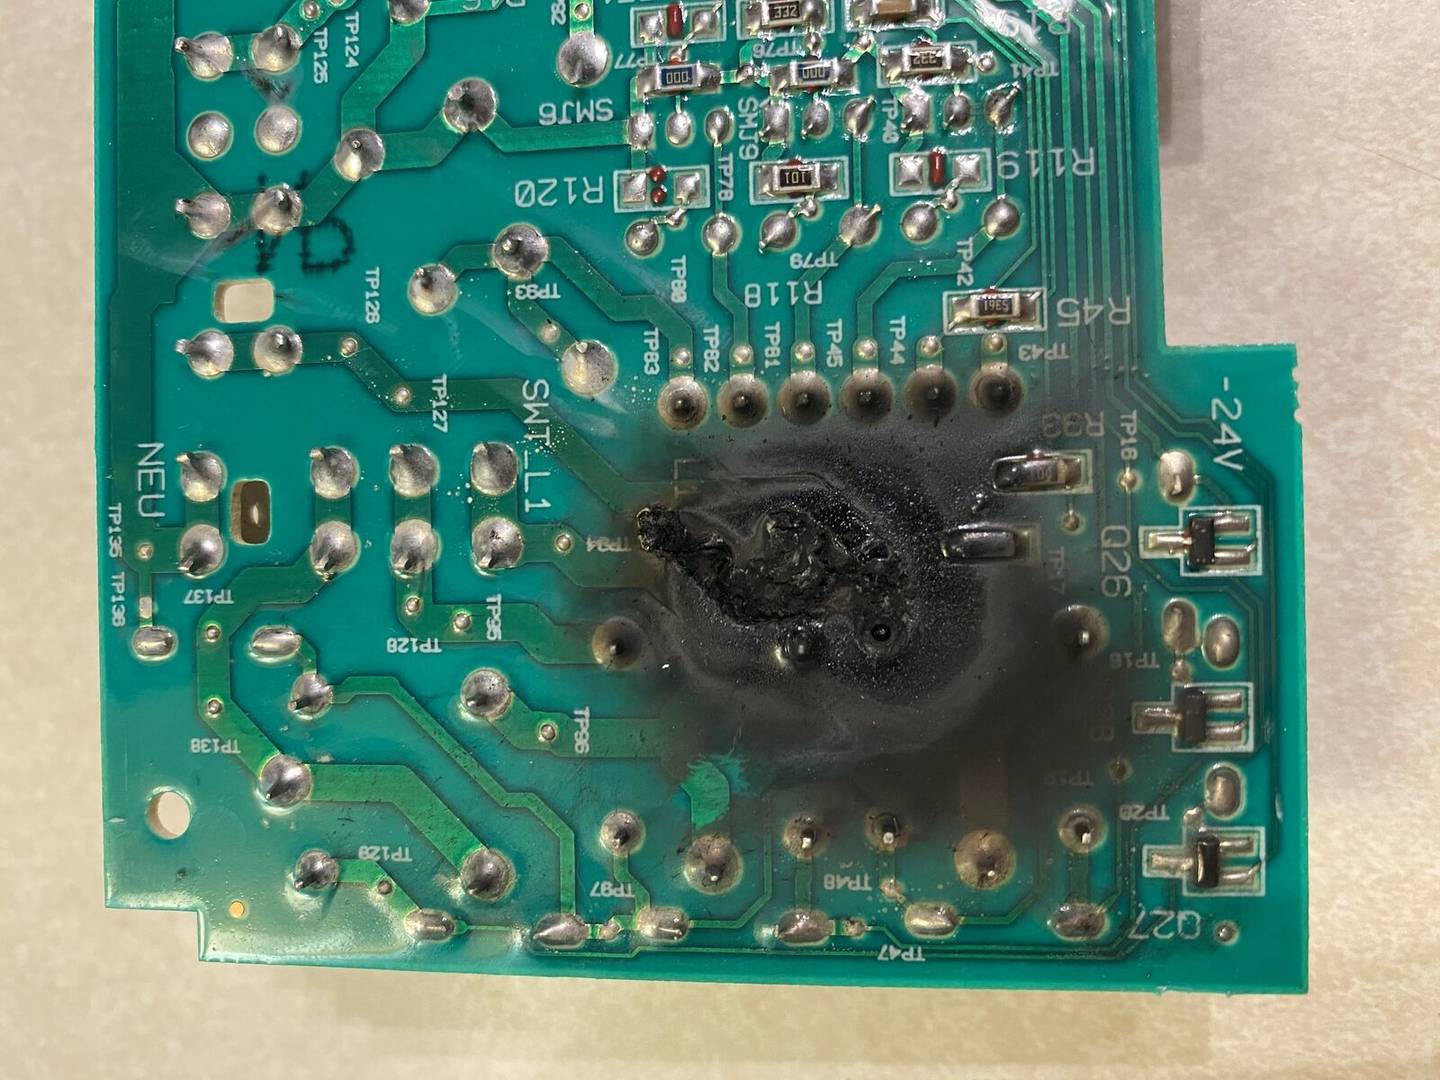
Rare but possible, the control board manages the heating circuit. If it fails, no voltage reaches the heater, even if the element is good.
Test Voltage at the Heater
Set multimeter to AC voltage. Reconnect heater wires. Start dry cycle. Probe heater terminals. Expected is 120V or 240V on some models. Actual 0V indicates a control board issue.
Look for Physical Damage
Open the control panel. Check for burn marks, bulging capacitors, or charred relays near heater connections.
Never replace the control board first. Test all other components before concluding it’s faulty. Replacement costs $150 to $400 and is often not worth it on older units.
Door Left Closed After Cycle
Trapped steam re-condenses on cooler dishes, especially plastics. This is a major issue in condensation-drying models like Bosch.
Open the Door Immediately
As soon as the cycle ends, crack the door open. This allows steam to escape and prevents moisture from settling back on dishes. Run the dishwasher during waking hours so you can open it right after it finishes.
Run a Diagnostic Reset
Some models lock out functions after errors. A reset can restore drying performance.
Reset Bosch Error Codes
Cancel the cycle by opening the door and holding Start. Wait for timer to drop to 1 minute. Close the door; the unit drains and resets. Restart with Heat Dry selected.
Excess suds often cause these errors. Use less detergent. Add a spoon of coffee creamer to neutralize suds.
General Reset Sequence
Press Heat, Normal, and 1-Hour Wash buttons three times rapidly. Lights will blink, and the unit enters diagnostic mode. Let it run; the clean light flashes when done.
Model-Specific Drying Tips
Each brand uses different drying tech. Know what your model expects.
Bosch Condensation Drying
No fan or heater exists; the system relies on the stainless steel tub absorbing moisture. Plastics will stay wet, which is normal behavior. Use rinse aid, avoid Express Wash, and open the door after the cycle.
KitchenAid ProDry with Fan
The fan circulates hot air and vents humidity. Ensure the vent path is clear. If the fan fails, drying drops significantly.
LG Fan and Heat Dry
Combines heating and forced air. Common issues include fan motor failure and rinse aid leaks.
Frigidaire Sahara Dry
Uses heat and forced air for the best drying on the market. Use with rinse aid for full results.
Whirlpool Heat and Fan
Check for software lockouts after faults. Reset if drying stops unexpectedly.
Maintenance to Prevent Future Issues
Keep your dishwasher drying strong with regular care.
Monthly Checks
Refill rinse aid. Inspect spray arms for clogs. Run a vinegar cycle to dissolve mineral buildup.
Quarterly Tasks
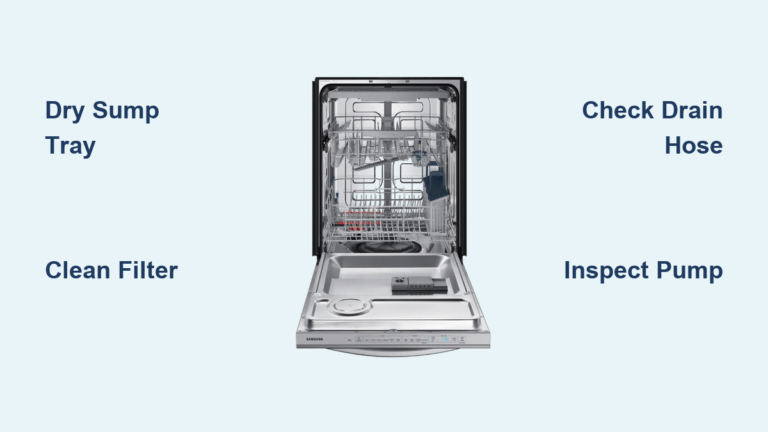
Clean the filter assembly; food debris blocks drainage. Check drain hose for kinks.
Annual Inspection
Test the float switch; it should click when lifted. Verify water temperature. Inspect heating element for scaling.
When to Repair vs Replace
Repair If
The unit is under 8 years old. The problem is the heating element, thermostat, or vent. Cost is under $200.
Replace If
The control board failed on an older model. Multiple components are failing. Repair cost exceeds 50% of new unit price.
Replacing a $35 heating element can extend your dishwasher’s life by years, avoiding a $700 replacement.
Final Checklist for Dry Dishes
Use rinse aid and refill monthly. Select Heat Dry, ProDry, or Sahara Dry. Avoid Quick Wash for full loads. Load dishes with space and proper angle. Confirm water is 120°F at the inlet. Open the door after cycle ends. Test heating element and thermostat if dishes are cold. Reset control board if error codes appear. Replace faulty vent or fan in fan-assisted models.
Frequently Asked Questions About Dishwasher Not Drying
Why do my plastic dishes still come out wet?
Plastic items don’t retain heat well, which is why they often stay wet, especially in condensation-drying models like Bosch. Angle plastics downward on the top rack and enable Heat Dry or fan-assisted drying modes for better results.
How often should I refill rinse aid?
Refill rinse aid every 4 to 6 weeks with regular use, or when the indicator shows low. Using high-quality rinse aid improves drying performance by up to 70% in modern dishwashers.
Can a dishwasher not dry because of cold water?
Yes. If inlet water is below 120°F, the dishwasher lacks sufficient residual heat for effective drying. Test your water temperature and adjust the water heater setting accordingly.
Is it worth replacing a heating element myself?
Yes. Replacement costs $30 to $150 and takes 1 to 2 hours. This simple fix can restore full drying performance and extend your dishwasher’s life by years without the cost of a new appliance.
Why does my dishwasher need to dry dishes better after I just bought it?
New dishwashers need 5 to 10 cycles to break in. Internal sensors and heating elements stabilize over time. Ensure you’re using rinse aid and selecting the proper dry cycle during this adjustment period.
Key Takeaways for Fixing Your Dishwasher Not Drying
A dishwasher not drying is rarely a mystery; it’s usually a fixable mismatch between expectations, settings, and maintenance. Start by checking rinse aid levels and selecting the correct dry cycle. Test water temperature and ensure it’s at least 120°F. Load dishes properly with spacing and correct angles. If problems persist, test the heating element and thermostat with a multimeter. Most drying issues resolve with simple adjustments rather than expensive repairs. By following this guide, you’ll restore full drying performance, extend your appliance’s life, and finally stop hand-drying your dishes.