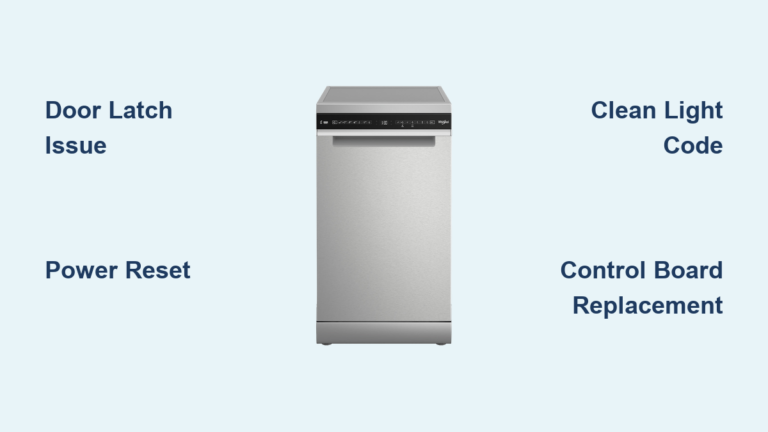
How to Fix Dishwasher Door Latch – Easy Repair Guide
A dishwasher that refuses to start because the door won’t latch is one of the most frustrating appliance problems you can face. The door appears closed, but your dishwasher simply won’t respond when you press start. This happens because the door latch contains a safety interlock that prevents operation when the door isn’t securely fastened. The good news is that fixing a broken dishwasher door latch is a straightforward repair you can complete in under an hour with basic tools. This guide walks you through every step, from diagnosing the exact problem to testing your repair to ensure the safety interlock works properly.
Common Door Latch Failure Signs
Your dishwasher gives several warning signs when the latch is failing. Recognizing these symptoms early helps you address the problem before it leaves you with a completely non-functional appliance.
Door Won’t Close or Start
If your dishwasher won’t begin a cycle, the first thing to check is whether the door fully latches. You should hear a soft click when closing the door. No click means the latch isn’t engaging properly. Even slight resistance or misalignment prevents the internal microswitch from signaling the control board that the door is secure, which stops the cycle before it begins.
Latch Falls Out or Sticks
In some models, particularly Midea dishwashers, users report the plastic latch falls back every time the door opens, requiring manual resetting with a hook or tool. This points to weak retention or a design flaw in lower-cost units. Similarly, if one side of the latch remains stuck after the cycle ends, residue buildup or mechanical fatigue is likely the culprit.
No Audible Click on Closure
A missing click is a red flag. The latch should snap firmly into place when you close the door. If you have to push hard or jiggle the door to get it to close, inspect for obstructions, striker misalignment, or a worn latch mechanism.
Clean the door rails and hinges first. Remove the upper rack and check for debris, warped tracks, or food particles that might prevent full closure.
Diagnose the Root Cause
Before replacing any parts, you need to identify what’s actually wrong. Many latch failures have simple causes that don’t require parts at all.
Check for Mechanical Obstructions
Remove the upper rack and inspect the door rails and hinges for debris, warped tracks, or food particles. Even a small utensil or crumb buildup can prevent full closure. Clean the track with a damp cloth and ensure smooth movement before proceeding to more complex repairs.
Verify Appliance Leveling
An unlevel dishwasher causes door wobble and uneven pressure on the latch. Place a bubble level across the top of the unit. Adjust the front and rear feet until the dishwasher is perfectly balanced. Proper leveling ensures consistent latch alignment and prevents long-term wear on the latch mechanism.
Inspect the Door Striker
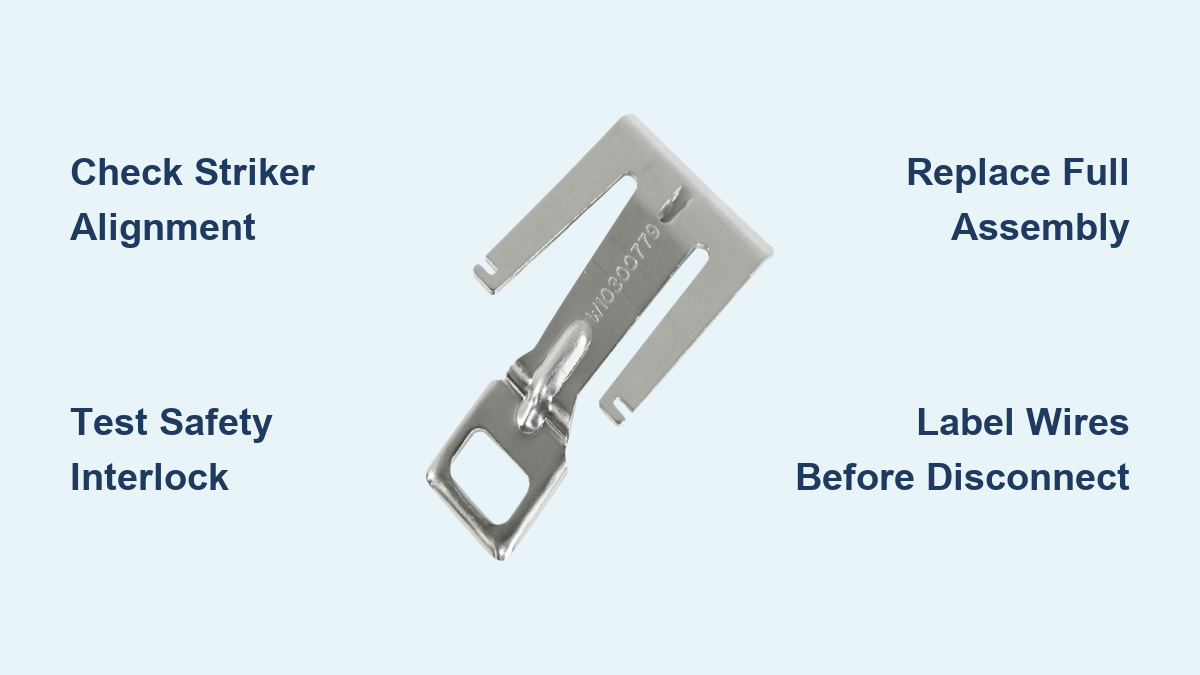
The striker, also called a strike pin, is mounted on the dishwasher body, not the door. It must align perfectly with the latch slot. If bent, use needle-nose pliers to gently straighten it. Replace the striker if it’s cracked or damaged. Misalignment is a frequent culprit in partial latching issues.
Test for Stuck Latch Mechanism
After a cycle ends, open the door and observe the latch position. If one side stays engaged, press down or lift the knob until it clicks into the open position. This temporary fix confirms a sticky mechanism, often caused by grease, mineral deposits, or worn plastic components.
Gather the necessary tools and replacement parts before starting the repair. Having everything ready makes the job go much smoother.
Required Tools and Parts
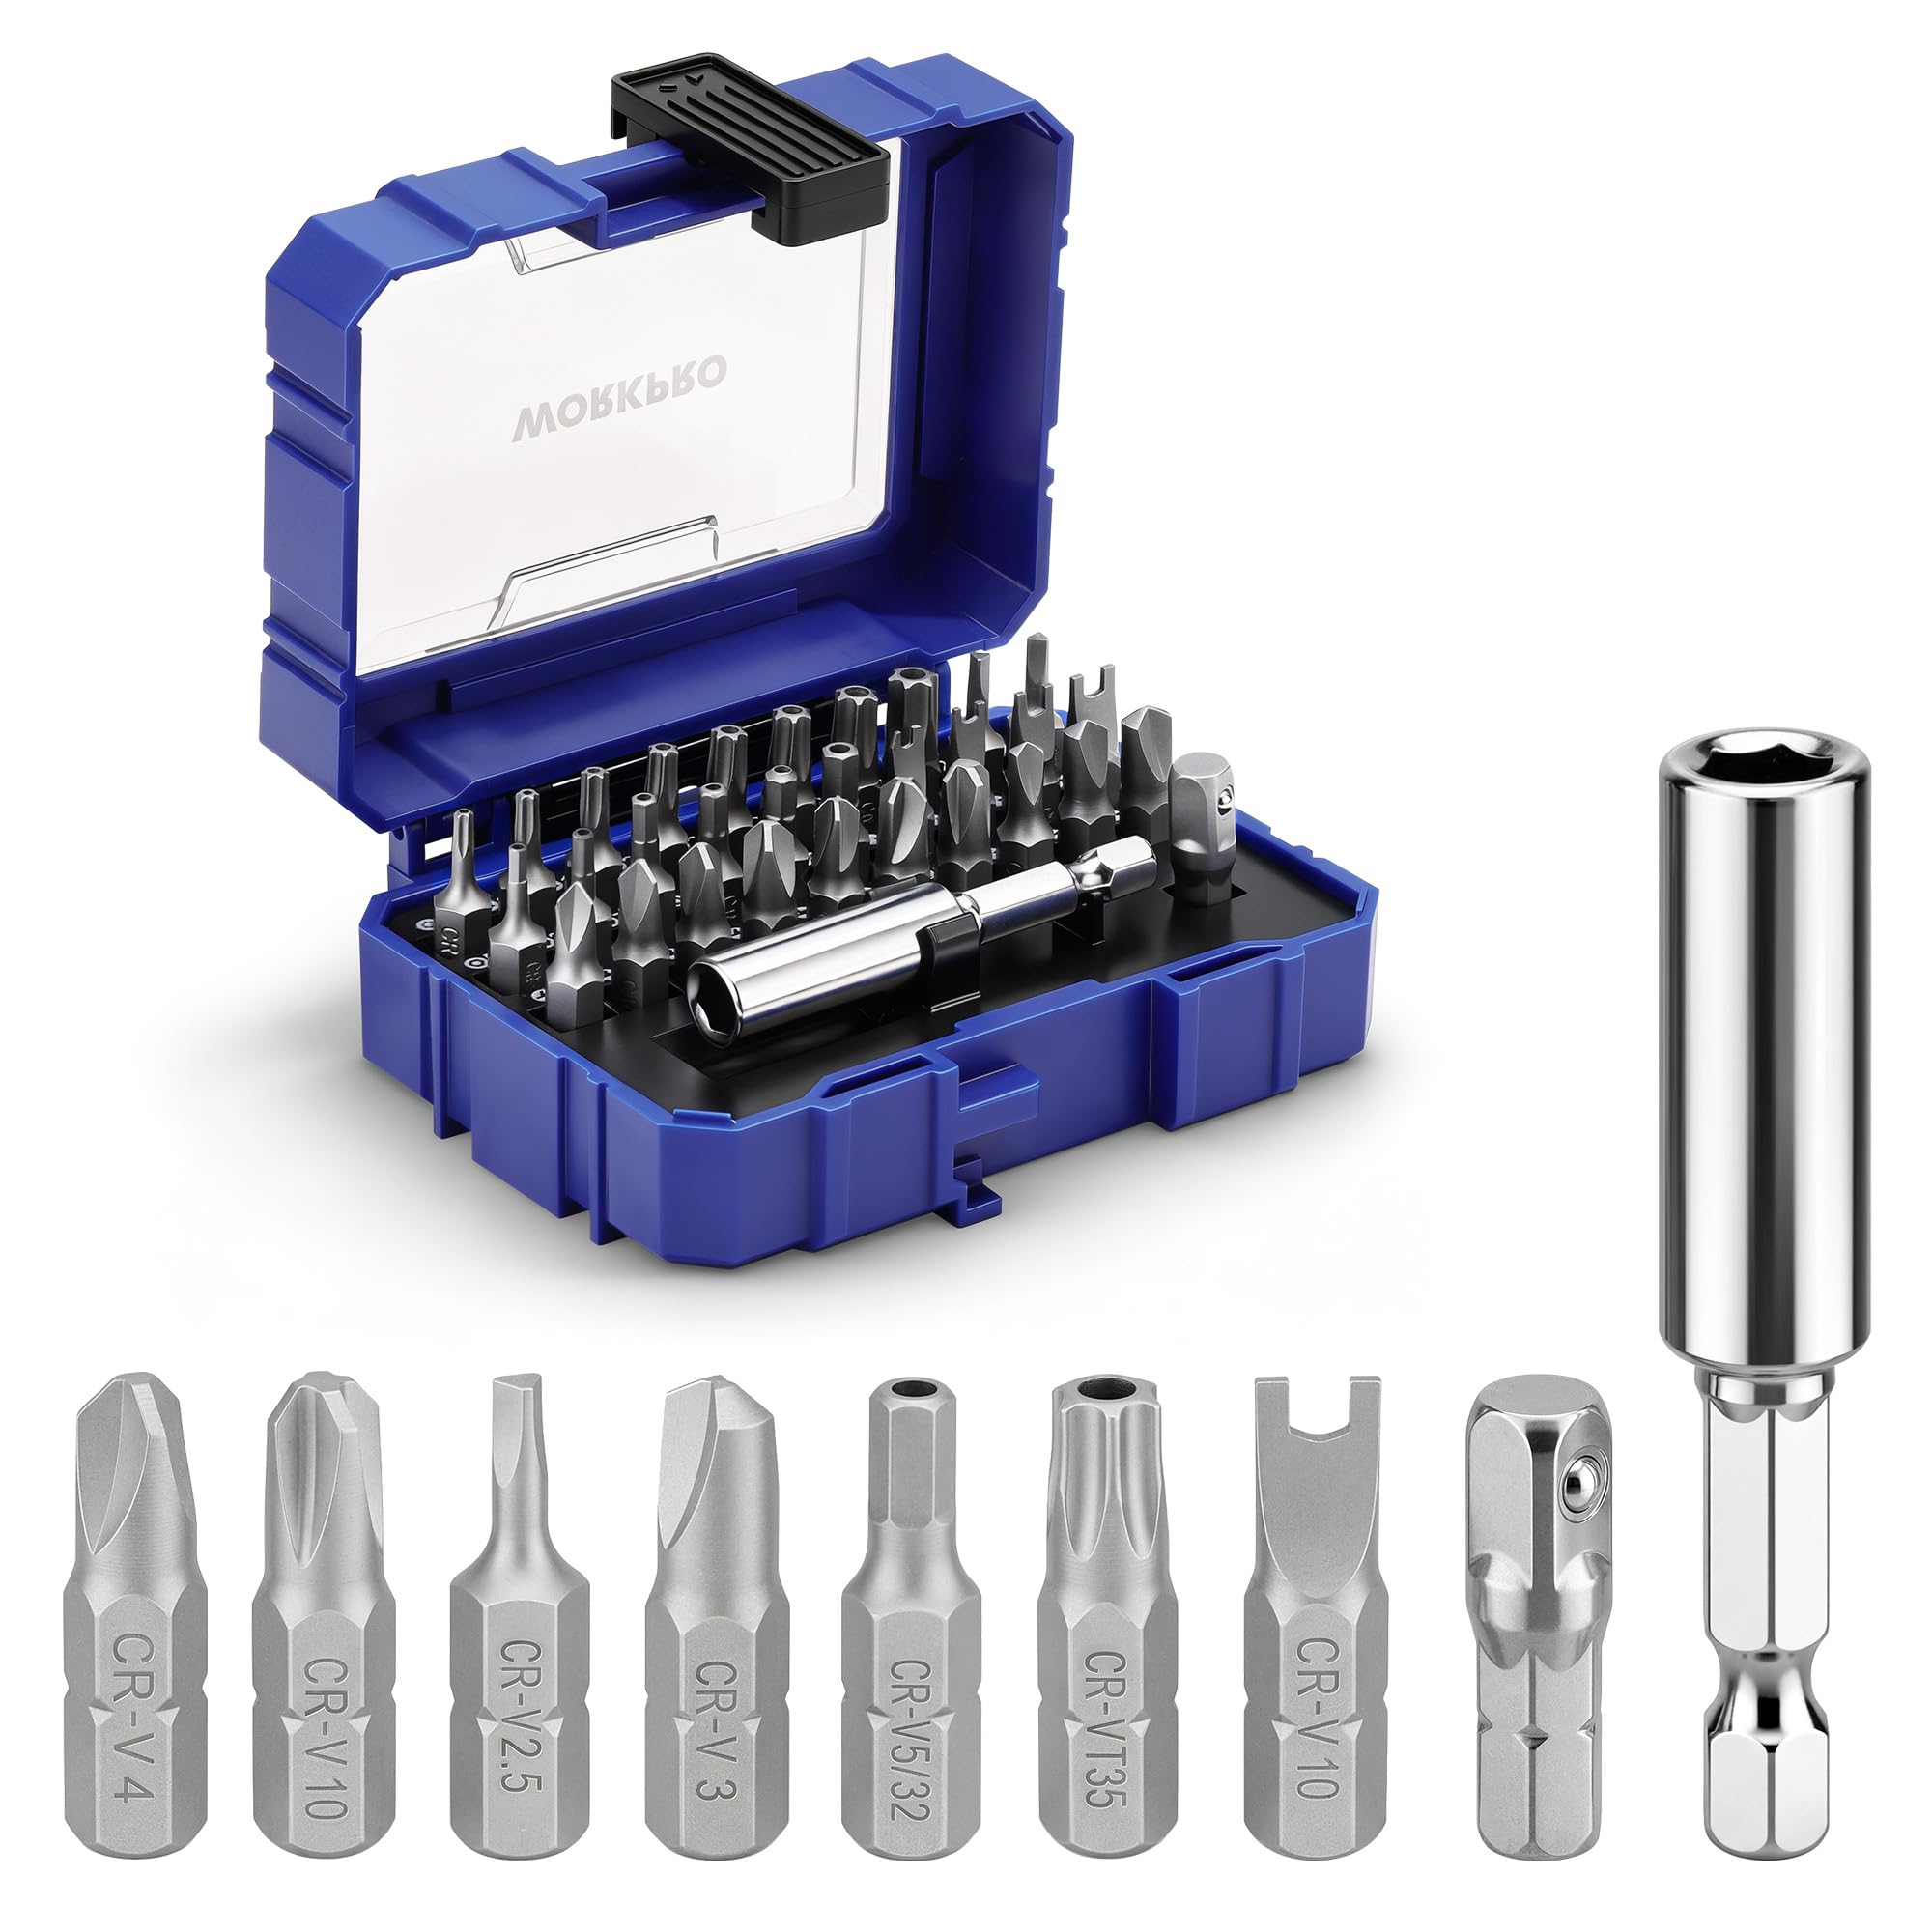
Essential Repair Tools
You need a few basic tools to complete this repair successfully. Using the correct tools prevents damage to your dishwasher and makes the work safer.
• Torx T20 screwdriver (most common for inner door screws)
• Work gloves (protects hands from sharp metal edges)
• Needle-nose pliers (for wire disconnects and striker adjustment)
• Bubble level (ensures proper appliance alignment)
• Marker and tape (for labeling wires if needed)
Replacement Part: Latch Assembly
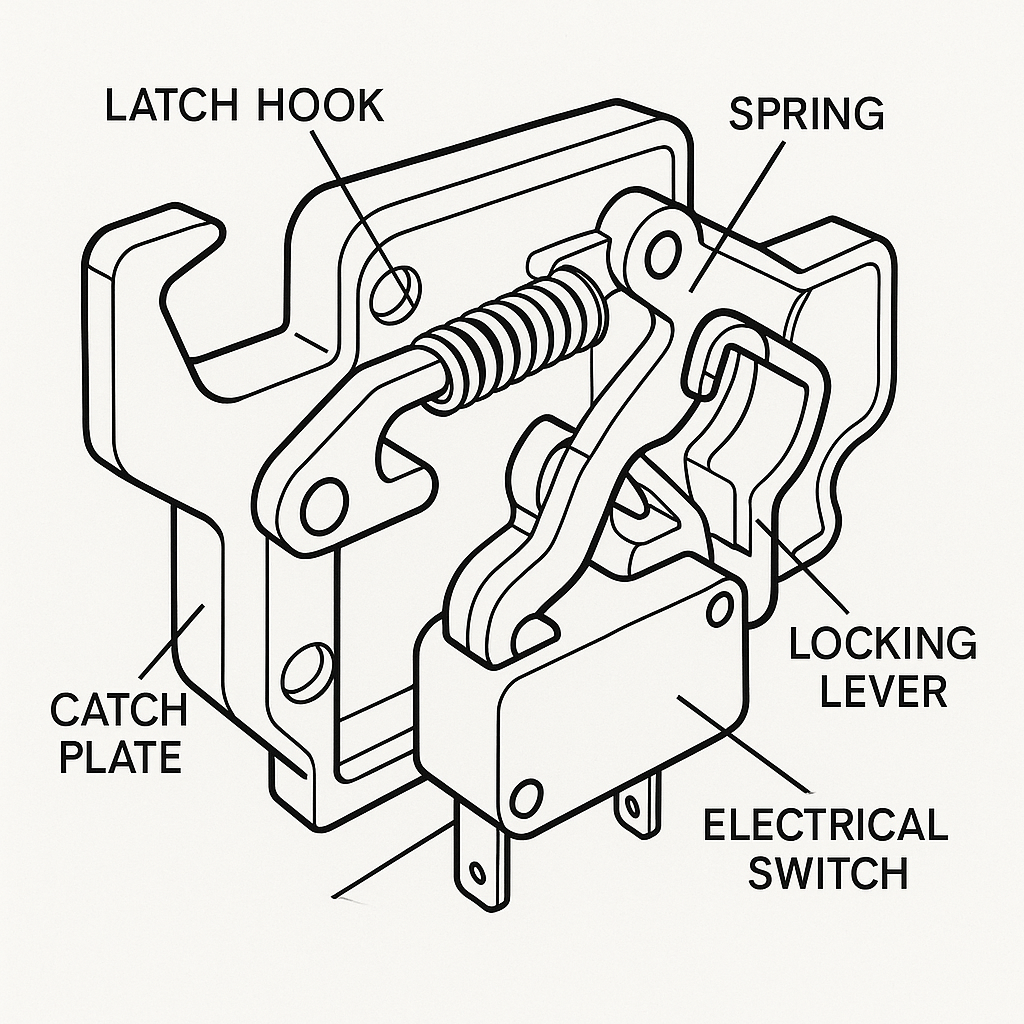
Order a door latch assembly using your dishwasher’s exact model number, found on a sticker inside the door frame. The assembly includes the latch, housing, and integrated microswitch, so you replace the whole unit for reliability rather than just the visible plastic piece.
Purchase from PartSelect.com for 1 to 2 day shipping, RepairClinic.com, or Amazon. Just verify compatibility with your specific model before ordering.
Never replace just the plastic latch. The microswitch often fails simultaneously with the mechanical latch, and replacing the full assembly ensures both functions are restored.
Safety First: Power Off and Prep
Working with electrical components requires proper safety precautions. Skipping these steps risks injury and can damage your dishwasher’s control system.
Turn Off Circuit Breaker
Do not rely on unplugging the dishwasher. Many units are hardwired directly to the electrical system. Shut off power at the house circuit breaker. Confirm the control panel is completely dead before proceeding. This prevents electric shock during disassembly and protects sensitive electronic components.
Label Wires Before Disconnecting
Some models have unlabeled wire harnesses marked only with letters like L and R. If your dishwasher’s wires aren’t labeled, use tape and a marker to identify each connection before disconnecting them. Miswiring can disable controls or prevent startup entirely.
Disconnect Harnesses Safely
Press the release clip on each connector before pulling wires apart. Never yank wires by the cable, as this damages the harness and leads to intermittent faults or costly follow-up repairs.
Replace the Latch Assembly
With safety precautions in place, you can now remove the old latch and install the new one. Follow these steps carefully to ensure a proper installation.
Remove Inner Door Panel Screws
Open the door fully. Locate and remove the Torx screws around the inner door frame. Most models use 11 screws with a T20 bit, though the exact count varies slightly by model. Keep screws organized in a tray or container. Some are longer and belong specifically to the control panel area.
Screws are often hidden behind small plastic caps. Pop them off with a flathead screwdriver to access the screws underneath.
Separate Door Panels Carefully
Support the outer panel with one hand as you remove the last screws. Gently pull the outer panel away from the inner panel. Lay it face-down on a towel to avoid scratching the finish.
Disconnect the user interface control wire harness from the control panel. If wires aren’t labeled, mark your connections now before proceeding further.
Access and Remove Old Latch
Unplug the door switch wire harness from the latch assembly. Look for locking tabs on the sides or bottom of the latch. Press or slide them to release the unit, then pull the latch straight out.
Inspect the old latch for cracks, especially on the left-side tongue. This is a known failure point in some models and confirms the latch needed replacement.
Install New Latch Assembly
Insert the new latch into the same position as the old one. Engage the locking tab until it clicks into place. Plug in the wire harness and ensure it seats fully with a firm click.
Compare the old and new parts side-by-side. Confirm the switch orientation and wire entry angle match exactly before reassembling.
Reassemble Door Panels
Reconnect the control panel wire harness. Align the outer and inner panels carefully. Reinstall all Torx screws in their original positions. Use longer screws for the control panel area if applicable.
Tighten screws securely but avoid over-torquing. Plastic threads can strip easily, which complicates future repairs.
Test the Repair
After reassembly, you must verify the repair works correctly and the safety interlock functions properly. This step prevents accidents and ensures your dishwasher operates safely.
Restore Power and Initiate Cycle
Turn the circuit breaker back on. Press Start. The door should lock automatically with a soft click. If it doesn’t, recheck latch alignment and verify power is flowing properly.
Perform Functional Tests
Run through these verification steps to confirm everything works.
• Open and close the door five times. It should latch smoothly each time without sticking or resistance.
• Run a short wash cycle. Verify water fills and pumps correctly through the entire cycle.
• Open the door mid-cycle. The dishwasher must stop immediately when the door opens.
The mid-cycle test confirms the safety interlock is working. If the machine continues running with the door open, power off immediately. The microswitch is faulty and needs further attention.
Model-Specific Fixes
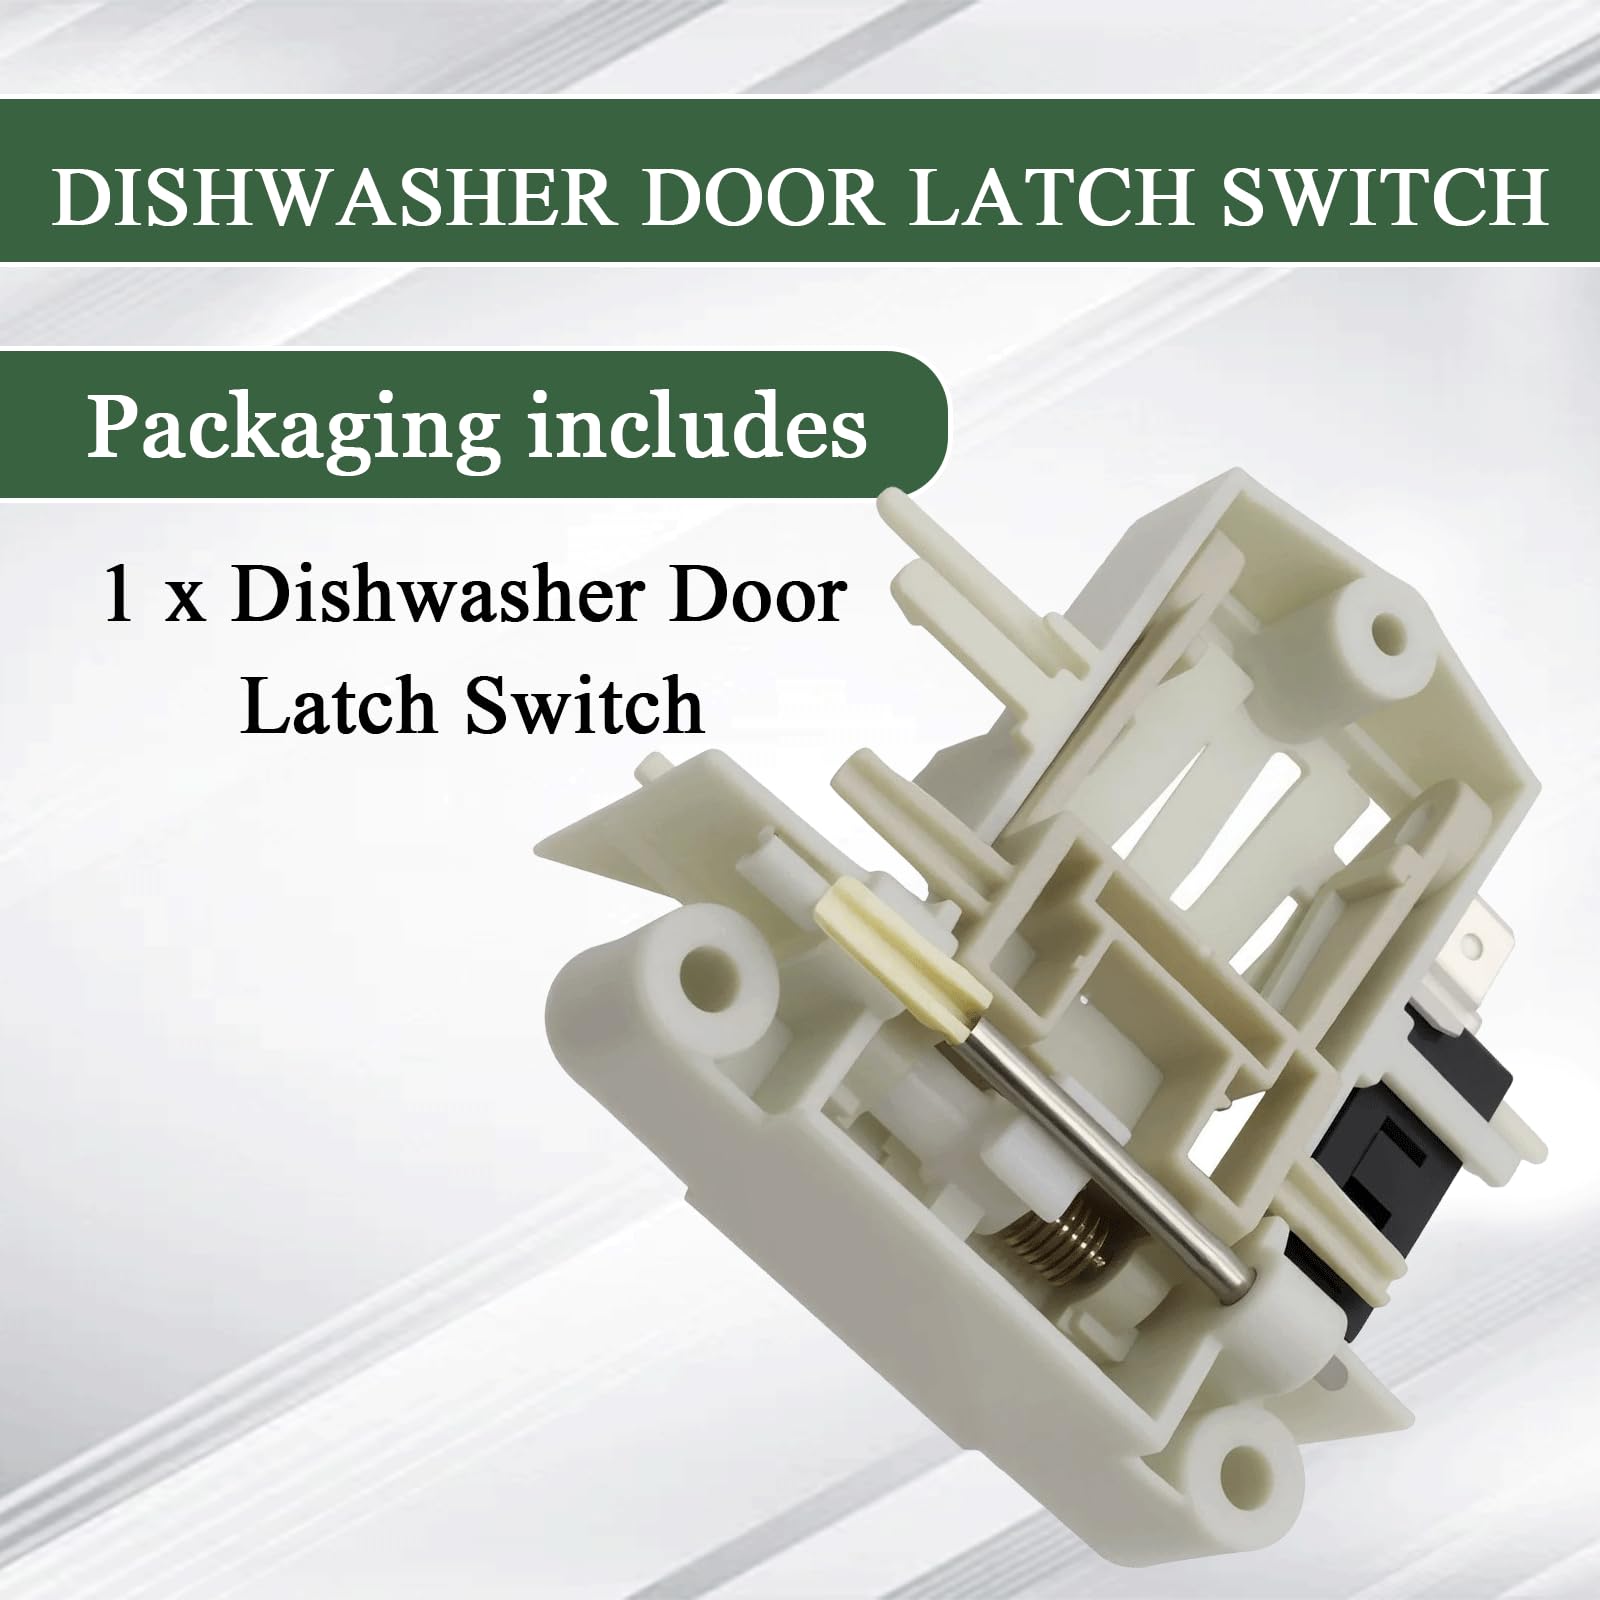
Different dishwasher brands have unique quirks and common failure points. Knowing these helps you address recurring issues more effectively.
Midea Models: Fix Latch Drop-Out
Midea dishwashers have a known issue where the plastic latch falls out repeatedly due to weak retention in the design. The OEM part may fail again within months.
Replace with an upgraded aftermarket latch designed for better durability. Reinforce the mounting area if the bracket feels loose. Avoid slamming the door to reduce stress on the latch mechanism.
Bosch, Miele, Thermador: Access Variations
High-end models may require removing the control panel trim or using specialized tools for access. Refer to model-specific diagrams before disassembly. The core latch replacement process remains the same across brands, but extra steps may be needed.
Avoid Common Mistakes
Learning what not to do protects your dishwasher and saves time. These errors cause most failed repair attempts.
Forgetting to Label Wires
Unmarked harnesses reconnected incorrectly cause non-responsive controls. Always label L and R connections with tape before disconnecting anything. This simple step prevents hours of frustration trying to figure out what went wrong.
Skipping the Leveling Step
An unlevel dishwasher leads to recurring latch issues. Take two minutes to adjust the feet properly. This prevents future repairs and extends the life of your new latch.
Using Wrong Screw Lengths
Longer screws belong to the control panel area. Using short screws there results in loose mounting and rattling. Match screw length to original placement for secure reassembly.
Maintenance and Longevity Tips
Proper care extends your latch life and prevents future failures. These simple habits make a big difference over time.
Clean Latch Quarterly
Wipe the latch and striker with a damp cloth to remove food debris and hard water buildup. Avoid harsh chemicals that degrade plastic components. A quick wipe during regular kitchen cleaning keeps the mechanism working smoothly.
Inspect Alignment Every Six Months
Check that the striker lines up with the latch slot. A slight bend from daily use can lead to failure over time. Catching misalignment early prevents sudden latch failures.
Don’t Slam the Door
Force accelerates wear on plastic latches. Close the door gently to extend component life. This is especially important in budget models where the latch material is thinner.
Cost and Warranty Info
Understanding costs helps you budget for the repair and know your coverage options.
Repair Cost Breakdown
• Replacement latch: $20 to $50 depending on brand
• Labor if professional: $100 to $150
• DIY savings: $80 or more with thirty minutes of effort
Warranty Coverage
Most manufacturers cover latch assemblies for one year. Check your warranty terms. Some extended plans include both parts and labor.
DIY repairs typically don’t void your warranty unless actual damage occurs during installation.
Frequently Asked Questions About Dishwasher Door Latch Repair
Why won’t my dishwasher start even when the door looks closed?
The door latch contains a microswitch that signals the control board when the door is securely closed. If this switch isn’t activated, the dishwasher won’t start regardless of how the door appears. This is a safety feature preventing operation with an open door.
Can I replace just the plastic latch instead of the whole assembly?
No. The plastic latch and microswitch are integrated into one assembly. Replacing only the visible plastic piece leaves you with the same problem because the electrical switch is what actually tells the dishwasher to start. The full assembly ensures both mechanical and electrical functions work properly.
How do I find my dishwasher’s model number?
The model number is typically found on a sticker or metal plate inside the door frame, along the top edge or side. You need this number to order the correct replacement latch for your specific dishwasher.
Is it safe to repair the latch myself?
Yes, with proper safety precautions. Turn off the circuit breaker before starting. The repair involves no live wires once power is disconnected. Follow the step-by-step procedure carefully, and test the safety interlock afterward to confirm everything works.
How long does a replacement latch last?
A quality OEM latch typically lasts five or more years under normal use. Budget aftermarket parts may have shorter lifespans, especially in models with known design weaknesses like Midea units.
Key Takeaways for Fixing Your Dishwasher Door Latch
Fixing a dishwasher door latch is a straightforward repair that restores full functionality and safety to your appliance. The key is replacing the entire latch assembly, not just the visible plastic piece, because both mechanical and electrical components are integrated.
Always cut power at the breaker before starting. Use a T20 Torx bit for the screws. Label wires if they aren’t marked. Test the mid-cycle stop function to confirm the safety interlock works properly after reassembly.
By following this guide, you can complete the repair in 20 to 45 minutes and save $80 or more compared to hiring a professional. A properly latching door means reliable, safe cleaning cycle after cycle.