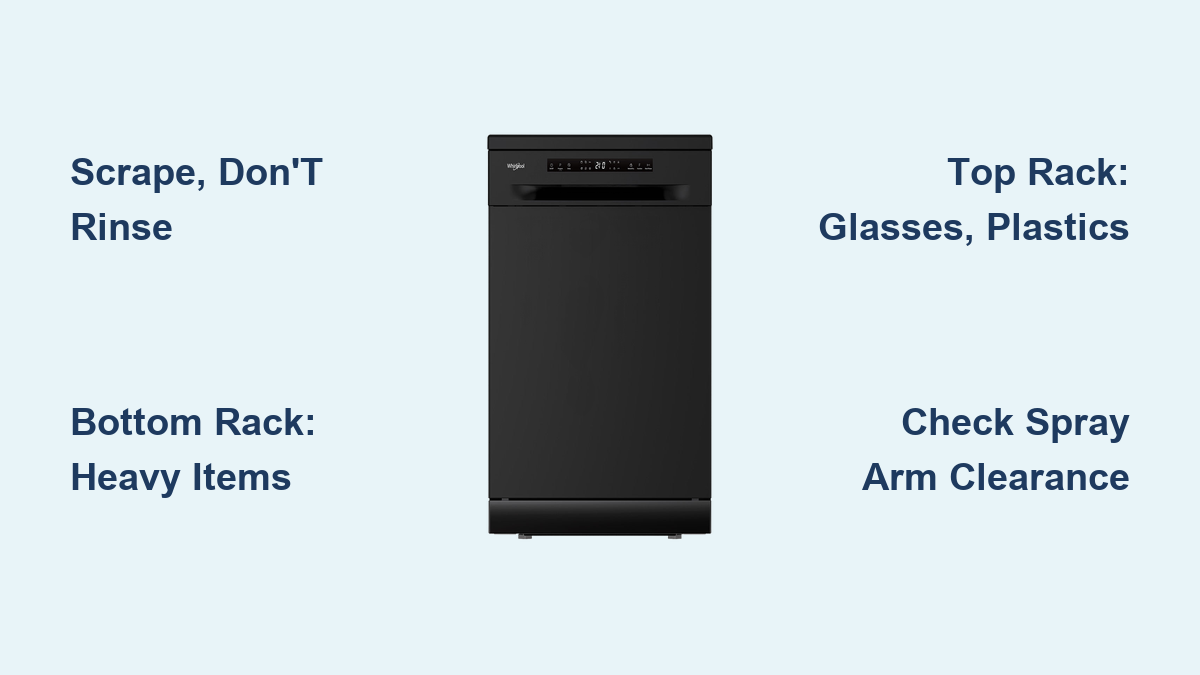
How to Load a Whirlpool Dishwasher: Quick Guide
You’ve just finished dinner, and the pile of dirty dishes looms large. The good news? Your Whirlpool dishwasher can handle the mess if it’s loaded correctly. A poorly loaded machine leaves behind food residue, water spots, and warped plastics, while a properly loaded one delivers spotless results every time. Knowing how to load a Whirlpool dishwasher the right way ensures maximum cleaning power, optimal drying, and long-term appliance performance.
This guide breaks down exactly how to load each rack, what items go where, and the common mistakes that sabotage results. Whether you have a model with a third rack or just the basics, you’ll learn the smart, efficient way to load based on Whirlpool’s official recommendations and engineering insights.
Prepare Dishes Before Loading Your Whirlpool
Before loading anything, take a moment to check which items are actually dishwasher-safe. Not all kitchen materials can withstand the heat, water pressure, and detergent exposure during a wash cycle.
Scrape Large Food Particles
Modern Whirlpool dishwashers use soil sensors to detect food particles and adjust cycle intensity. Pre-rinsing removes these particles, reducing detergent activation and wasting water. Instead, scrape large food scraps into the trash or compost. Knock off dried-on debris that could clog the filter. Skip the sink rinse and just load and go. Models with Sensor Wash or AutoSense optimize water and time based on actual soil levels.
Confirm Dishwasher-Safe Materials
Loading the wrong materials damages both dishes and your appliance.
Safe to Load:
– Glass (tempered or labeled dishwasher-safe)
– Ceramic, stoneware, stainless steel
– Plastics marked dishwasher-safe
Never Load:
– Wooden utensils or cutting boards (warping risk)
– Cast iron (loses seasoning, rusts)
– Copper cookware (tarnishes easily)
– Delicate glassware like crystal
– Non-stick pans with peeling coating
– Items with glued parts
Load the Bottom Rack for Heavy Items
:max_bytes(150000):strip_icc()/How-To-Load-a-Dishwasher-2000-28e299a2724e4fc58fad0a40cae3f79e.jpg)
The bottom rack handles the toughest loads with high-pressure spray from below. This is where your largest, most durable dishes belong.
Position Plates and Bowls Correctly
Place plates along the sides and back, facing inward toward the center. Angle bowls and mixing bowls downward so water drains out. Avoid stacking or nesting items. Space everything 1 to 2 inches apart for proper water circulation. Never place delicate items here because the high pressure can chip or crack them.
Fit Pots, Pans, and Baking Dishes
Load large cookware on their edges, angled down. Never block the detergent dispenser or spray arm. Keep tall items low to prevent interference with the spray arm rotation. If the spray arm can’t spin freely when you close the door, rearrange your load.
Best Items for Bottom Rack:
– Pots and pans
– Casseroles
– Baking sheets
– Dinner plates
Load the Top Rack for Delicate Items

The top rack protects glasses, mugs, and plastics using gentler water flow from above. This is where your fragile items get the care they need.
Arrange Glasses and Cups
Place all items upside down to prevent water pooling inside. Space items apart to avoid chipping and to ensure proper cleaning. Use adjustable tines to fit different sizes. Flip down tines for wine glasses and tall items. Flip up tines for espresso cups and smaller pieces.
Handle Plastic Containers Safely
Always place plastics on the top rack only. Heat from the bottom can warp or melt plastic. Choose only items labeled as dishwasher-safe. Some Whirlpool models include a China and Crystal rack insert for extra protection on delicate plastic items.
Best Items for Top Rack:
– Drinking glasses
– Coffee mugs
– Small bowls
– Plastic food containers
Use the Third Rack for Utensils
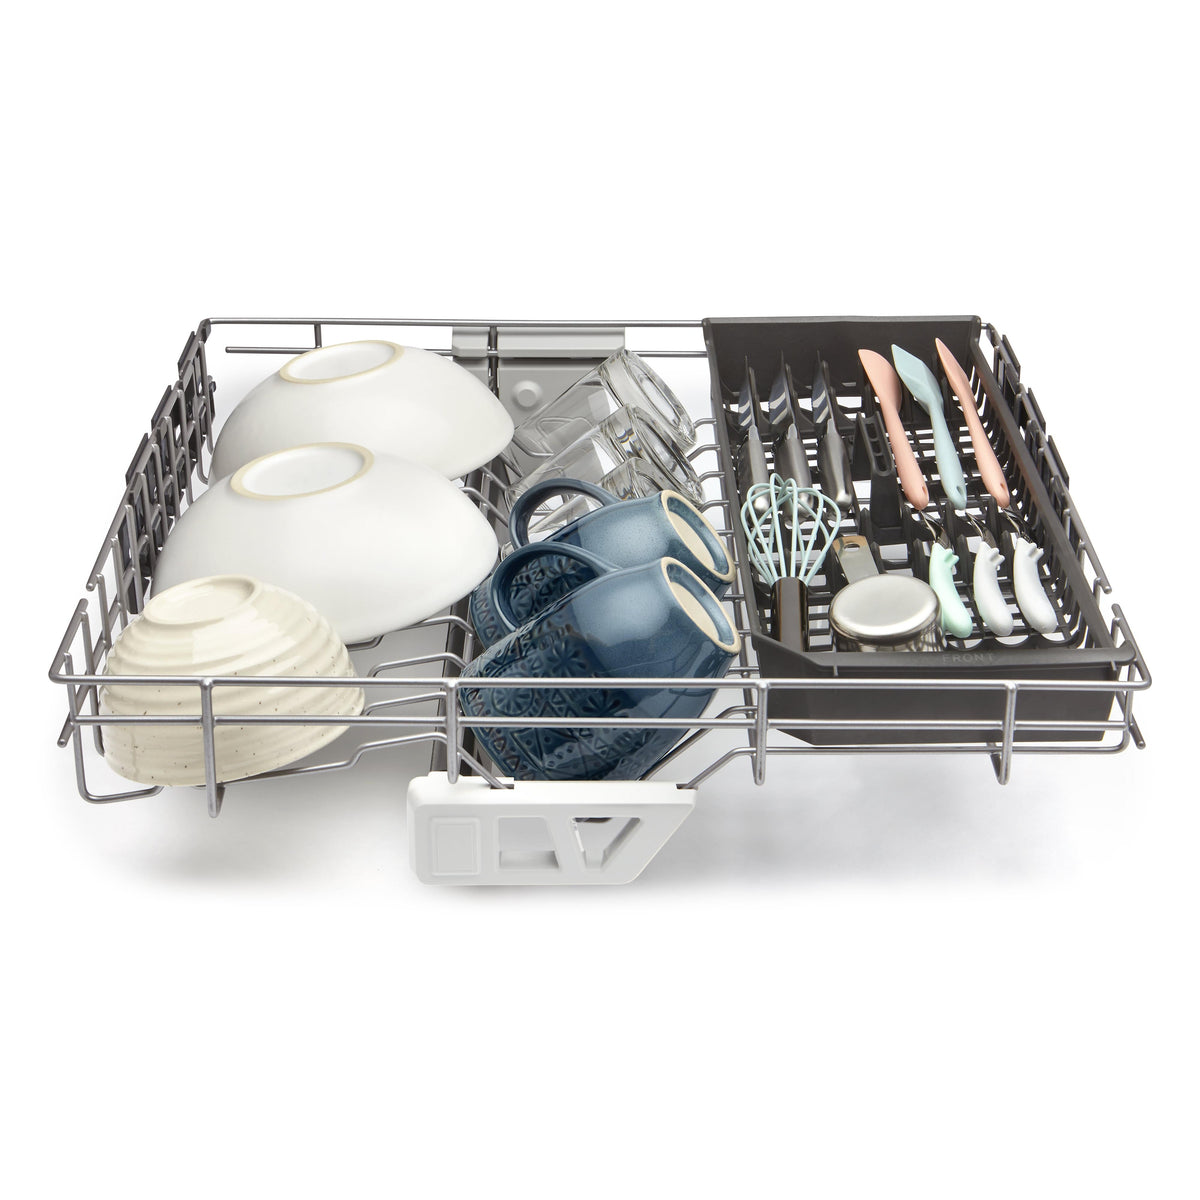
Select Whirlpool models include a third rack above the top rack, freeing up space and improving organization throughout the dishwasher.
Organize Small Tools and Utensils
Load silverware, spatulas, measuring spoons, and bottle caps here. Point handles down for better cleaning and safety. Angle items to allow water runoff and drying. Use built-in slots or dividers to separate utensils and prevent nesting.
Maximize Available Space
No more bulky silverware basket takes up room in the main tub. This frees up the lower racks for larger dishes. Keeps small items secure and visible during the wash cycle. Look for BladeSpray or Targeted Spray models that use third-rack placement to enhance spray coverage.
Load the Silverware Basket Properly
For models without a third rack, the silverware basket must be used wisely to ensure thorough cleaning and drying.
Prevent Nesting and Blockages
Alternate utensil directions to maximize cleaning. Forks go with prongs up. Spoons alternate up and down. Knives go blades down for safety during unloading. Mix types of silverware (forks, spoons, knives) to stop nesting and ensure water reaches all surfaces.
Optimize Fit and Safety
Use the basket lid or divider to keep proper spacing. Remove the lid if utensils don’t fit in slots. Place oversized tools like ladles and serving spoons in the top rack if they don’t fit in the basket. Nested utensils trap food and reduce drying effectiveness.
Optimize Detergent and Rinse Aid Use
Using the right products in the right way makes a huge difference in cleaning performance.
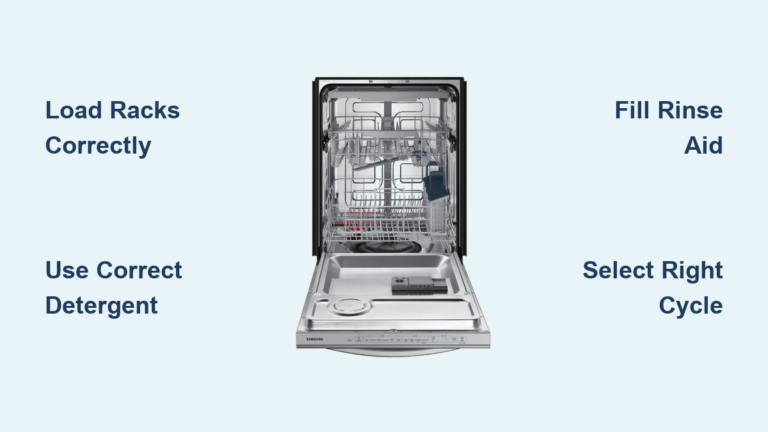
Load Detergent Properly
Use fresh detergent just before starting the cycle. For pods, place in the main dispenser, not the pre-wash cup. Keep the dispenser dry to prevent early dissolution. Use only dishwasher-specific detergents (pods, gel, powder). Never use liquid dish soap, which causes excessive suds and may damage the unit.
Fill the Rinse Aid Dispenser
Rinse aid ensures better drying and spot-free results. Refill when the indicator window shows low. Never use vinegar in the rinse aid compartment because it can damage seals and sensors. Water beads or streaks on dishes after drying usually mean low rinse aid.
Ensure Spray Arms Can Rotate Freely
The spray arms deliver water from all angles. If blocked, cleaning fails completely.
Check Before Every Cycle
Open the dishwasher and spin both arms by hand. Make sure no handles, bowls, or pans are in the way. Look for tall items in the top rack that might hit the ceiling. Clear spray path means better cleaning results.
Clean Spray Arms Monthly
Unscrew arms if your model allows removal. Rinse under running water to clear clogged holes. Use a toothpick to remove debris from nozzles. Clogged spray arms are a top cause of dishes that look clean but feel gritty.
Avoid Common Loading Mistakes
Even small errors can ruin a wash cycle. Here’s what to fix in your routine.
Overloading Blocks Water Flow
The problem blocks water circulation and causes poor cleaning. The fix leaves 1 to 2 inches between items. Less is more when it comes to effective dishwashing.
Blocking the Spray Arm
The problem prevents full rotation and leaves dishes dirty. The fix checks clearance before closing the door. Never place pots directly over the spray arm.
Placing Plastics on the Bottom Rack
The problem causes melting or warping from bottom heat. The fix always uses top or third rack for plastics. Check labels before loading.
Forgetting the Detergent Dispenser
The problem means detergent doesn’t release during the cycle. The fix double-checks the latch before starting. This is an easy mistake that wastes an entire wash.
Maintain Long-Term Performance
Proper loading protects your appliance and extends its life.
Clean the Filter Weekly
The filter is located at the bottom of the tub. Twist and remove the filter assembly. Rinse under warm water to remove food debris. Reinstall fully and never run the dishwasher without it. A clogged filter reduces cleaning power and may trigger error codes.
Run a Monthly Cleaning Cycle
Place a cup of white vinegar in a dishwasher-safe container on the top rack. Run a hot water cycle with no dishes. Alternatively, use a dishwasher cleaner product. This removes grease, lime buildup, and odors.
Inspect Door Seals Monthly
Wipe the gasket with a damp cloth. Remove stuck food or debris. Check for cracks or warping and replace if damaged. Good seals mean better drying performance.
Find Model-Specific Instructions
Whirlpool dishwashers vary by model. Loading your specific model correctly requires knowing its unique features.
Locate Your Model Number
Find the number on the door frame or tub edge. It starts with letters like WDT, WUI, or WDF. This identifies your exact configuration.
Access Free Online Resources
Visit Whirlpool’s Manuals and Literature page and enter your model number. You’ll get loading diagrams, rack adjustment guides, recommended cycles, and troubleshooting tips. Models with fold-down tines or swivel spray arms need specific positioning to work correctly.
Frequently Asked Questions About Loading a Whirlpool Dishwasher
Can I put cast iron pans in my Whirlpool dishwasher?
No. Cast iron should never go in the dishwasher. The water exposure causes rusting and removes the seasoning that makes the pan non-stick. Wash cast iron by hand and re-season after drying.
Why should I not pre-rinse dishes before loading?
Modern dishwasher detergents are formulated to bind to food particles. Rinsing removes these particles, reducing detergent effectiveness. Whirlpool models with soil sensors adjust cycle intensity based on detected residue. Scraping off large particles is sufficient.
Is it okay to overload my Whirlpool dishwasher?
No. Overloading restricts water circulation and reduces cleaning efficiency. Leave 1 to 2 inches between items for water and detergent to reach all surfaces. A properly spaced load cleans better than a packed one.
Where should plastic containers go in the dishwasher?
Always place plastic containers on the top rack. Heat from the bottom heating element can warp or melt plastic. Only use items labeled as dishwasher-safe on the top rack.
How often should I clean the dishwasher filter?
Clean the filter weekly for best performance. Remove food debris and rinse under warm water. A clogged filter reduces cleaning effectiveness and may cause drainage problems or error codes.
Key Takeaways for Loading Your Whirlpool Dishwasher
Loading your Whirlpool dishwasher correctly unlocks its full cleaning potential. Scrape large food particles instead of rinsing. Place heavy, durable items on the bottom rack angled downward. Keep glasses, mugs, and plastics on the top rack upside down. Use the third rack for utensils if your model has one, or load the silverware basket with mixed types and alternating directions. Always ensure spray arms can rotate freely and never block them with large pots. Use rinse aid and proper dishwasher detergent for the best drying and cleaning results. Clean the filter monthly and run a vinegar cleaning cycle to maintain long-term performance. By following these Whirlpool-endorsed practices, you’ll get consistently clean, dry dishes while extending the life of both your dishware and appliance.